How to QuickTime Screen Recording on Windows 10 or Windows 11?

Summary :
Is QuickTime compatible with Windows 10 and Windows 11? If so, how can you use QuickTime to screen record on a Windows PC? This article will explain all these points in detail.
Content Table
If you’ve recently transitioned from using a Mac to a Windows 10 or 11 PC, you might find yourself missing the simplicity and convenience of QuickTime for screen recording. Originally designed for Mac, QuickTime’s ease of use made it a favorite tool among users for capturing screen activity.
When it comes to replicating this experience on Windows, however, QuickTime may not be the straightforward solution you’re hoping for. Continue on this post to know whether you can use QuickTime to record screens on Windows 10 and Windows 11.
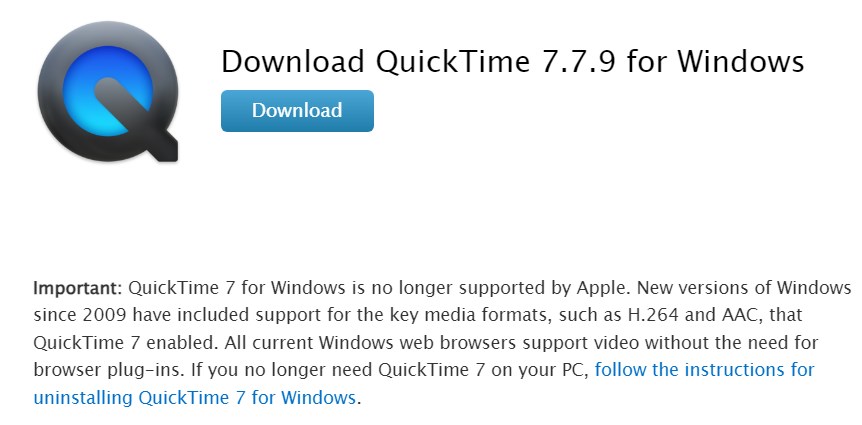
Can You Use QuickTime to Record Screen on Windows 10 & 11?
Although QuickTime was a favored option for video playback on older Windows systems, it’s important to note that QuickTime Player for Windows does not support screen recording. This functionality is only included in the version for Mac OS.
Last update of QuickTime for Windows – 2016
Moreover, Apple ceased providing updates for QuickTime on Windows in 2016, rendering it only compatible with Windows 7 and previous versions. As a result, for users operating on Windows 10 or 11, QuickTime may be no longer a suitable option for video playback or screen recording due to its lack of compatibility with these newer operating systems.
How to Screen Record using QuickTime Windows Alternatives
Although QuickTime may no longer be an option for Windows 10 and 11 users, the good news is there are a multitude of alternative tools for screen recording available on Windows PC. What’s even better is that many of these tools are free to use and offer functionality that matches or even surpasses QuickTime for Mac.
Some of these tools are even browser-based, meaning you won’t need to download any software to your Windows PC. Let’s explore some of these alternatives:
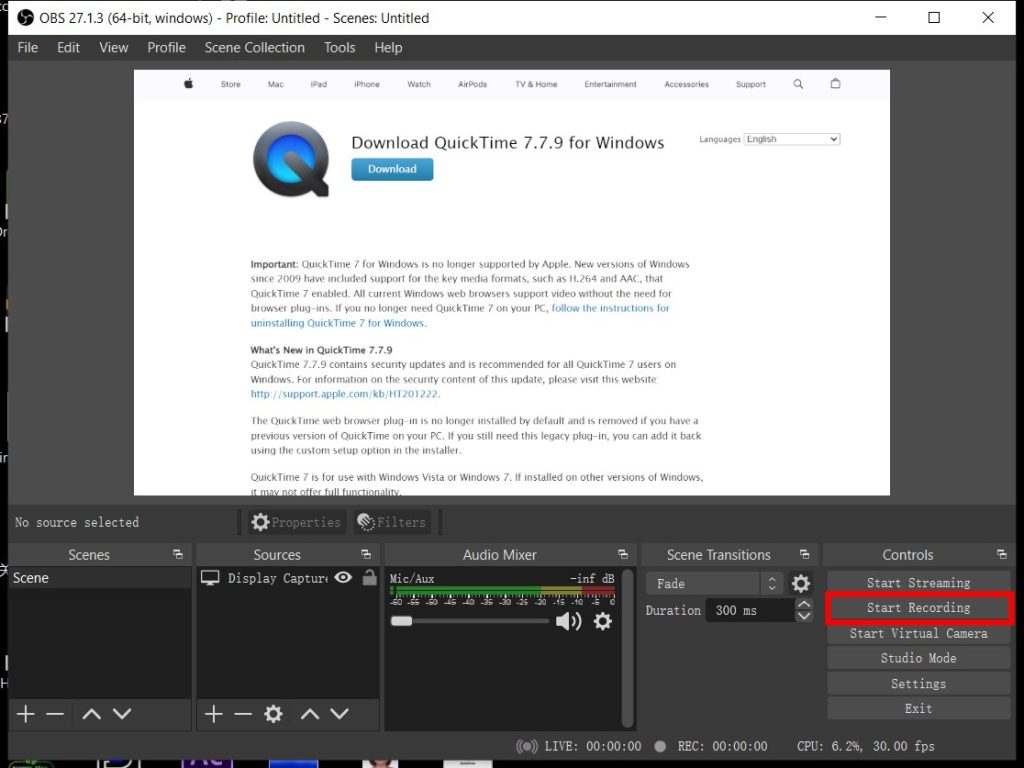
1. OBS Studio – Free & Open-Source
QuickTime Windows Alternative to record screen
Fully compatible with Windows 10 and 11, OBS Studio emerges as a superior QuickTime alternative for screen recording on PC. What sets OBS Studio apart is its versatility – it offers robust live streaming capabilities alongside screen recording. This open-source software is continually updated and refined by a community of developers, ensuring that it stays at the forefront of screen recording technology. Furthermore, OBS Studio accommodates a wide range of video formats and allows an impressive degree of control over recording settings.
Here’s how you can use OBS Studio to record Windows screen:
- Download and Install: As a first step, download OBS Studio from the official website and install it on your system.
- Setup OBS: Launch OBS Studio. You’ll see a black screen by default. Right-click within the Sources box and select “Add” > “Display Capture.”
- Customize: In the ‘Create/Select Source’ dialog box, you can choose to capture the entire screen, a window, or a custom area, showcasing the software’s flexibility.
- Add Extras: OBS Studio lets you add text overlays or images, and switch between scenes, providing a professional touch to your recordings. Simply click on the ‘+’ button under ‘Sources’ and select the relevant option.
- Start Recording: Once you’re happy with your setup, just click on the ‘Start Recording’ button.
- Stop Recording: To stop recording, click the ‘Stop Recording’ button. OBS Studio will automatically save the recording in a format of your choice.
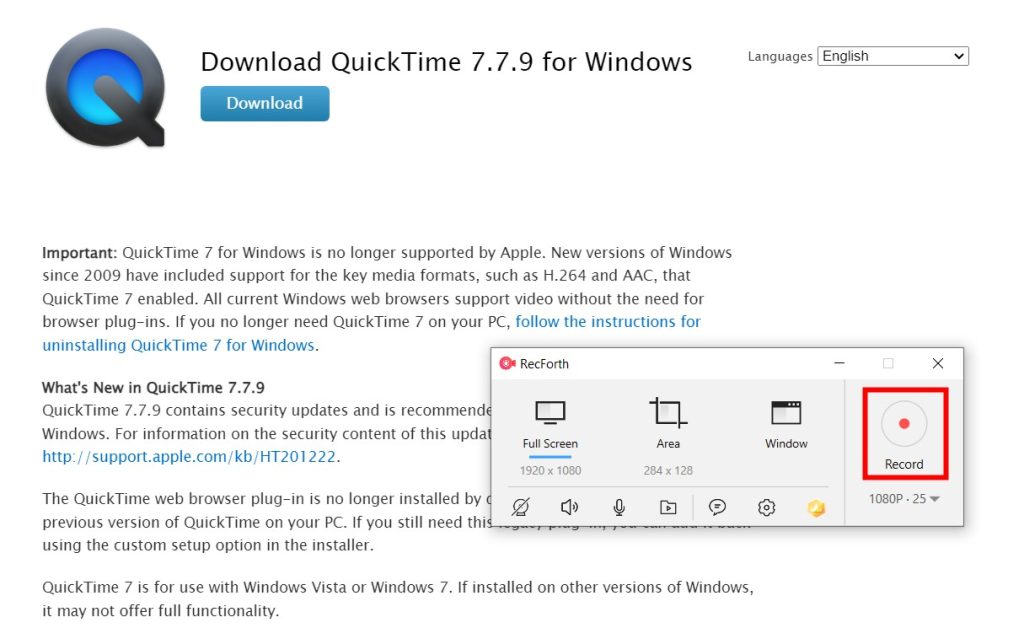
2. RecForth – Lightweight and User-friendly
Record screen using QuickTime alternative on Windows
Not all users prefer heavy-duty applications. For those seeking a more compact, user-friendly choice, RecForth shines through. Tailored exclusively for screen recording on Windows, RecForth is a streamlined desktop application. With a minimal installation footprint and intuitive interface, it stands out in its simplicity and efficiency. Plus, it’s available on the Windows Store, assuring users of its security.
With RecForth’s free version, users can explore a full suite of screen recording features. Here’s how to use it:
- Install and Launch: Download and install RecForth on your Windows machine, then open the application.
- Define Recording Area: Opt to record a particular window, a specific area, or the entire screen.
- Configure Audio: Decide if you want to include system sound and microphone audio in your recording.
- Begin Recording: Click ‘Record’ to initiate the recording process.
- End Recording: Click the red button on the right to halt the recording.
RecForth also offers handy features like pause and resume buttons for recordings, and the capability to record both the screen and webcam simultaneously.
3. Loom – Screen Recording Made Easy with a Chrome Extension
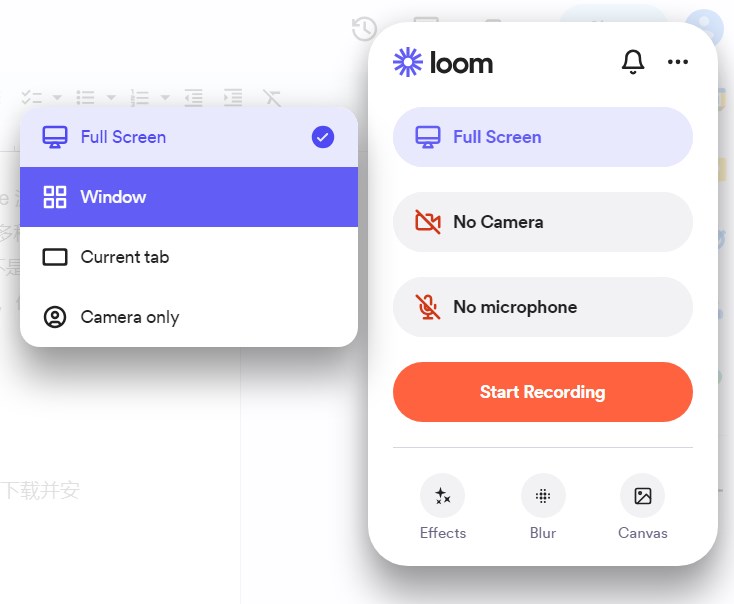
Record screen on Windows using Loom
Loom breaks away from the standard desktop application model. As a screen recording tool embedded within a Chrome extension, Loom offers fast, easy screen recording and sharing – functionality desktop counterparts often struggle to match. However, the free version of Loom does come with limitations – it only supports the creation of 25 videos, and each video can be a maximum of 5 minutes long. Additionally, using Loom typically necessitates registration.
Here’s how you can get started with Loom:
- Install Loom Chrome Extension: Navigate to your Google Chrome browser and download the Loom Chrome extension. Once downloaded, install it.
- Register and Login to Loom: Before you can start using Loom, you’ll need to register and log in.
- Choose Your Recording Preferences: Open the Loom extension in your browser, select the area and content you wish to record, then hit ‘Start Recording’.
- Edit and Share: After recording, Loom will redirect you to its website, where your video will be saved. From there, you can edit your video, share it, or even invite others to comment.
Conclusion
While QuickTime may no longer be a viable option for users on the latest Windows systems, screen recording doesn’t have to be a challenge. Modern tools offer an abundance of post-production capabilities – think voiceovers, video effects, music, and subtitles – equipping you to make the most out of your recorded content.