Basic Editing Tips
Main Features
For user’s convenience, FilmForth provides the handiest approaches for users to trim, convert, stabilize, rotate video in a few clicks. To make the movie-making journey much easier is what Quick tools are for. Now, Let’s delve into FilmForth Quick Tools first, as they are the most used features for general users.
Convert Video
IoForth provides the most effective way to convert video to your preferred video format via the convert Video tool Duo Video Converter.
Click on the Convert Video button, you’ll be led to Microsoft Store where you can easily download our video converter tool – Duo Video Converter.
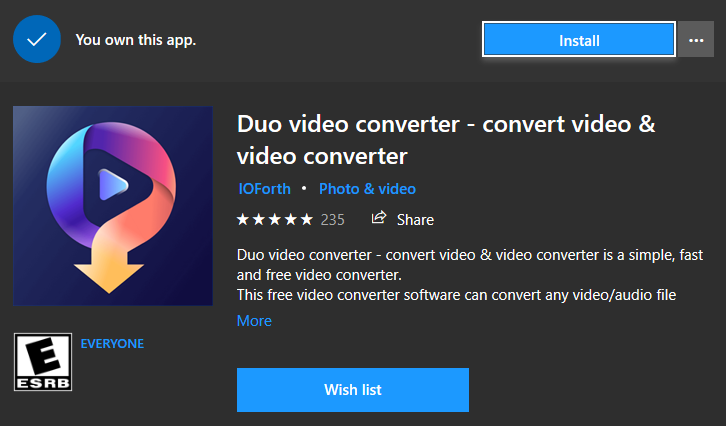
Download Duo Video Converter
After the successful installation of Duo Video Converter, launch it on your computer from Windows start menu. Then, you can convert the video to the format you want.
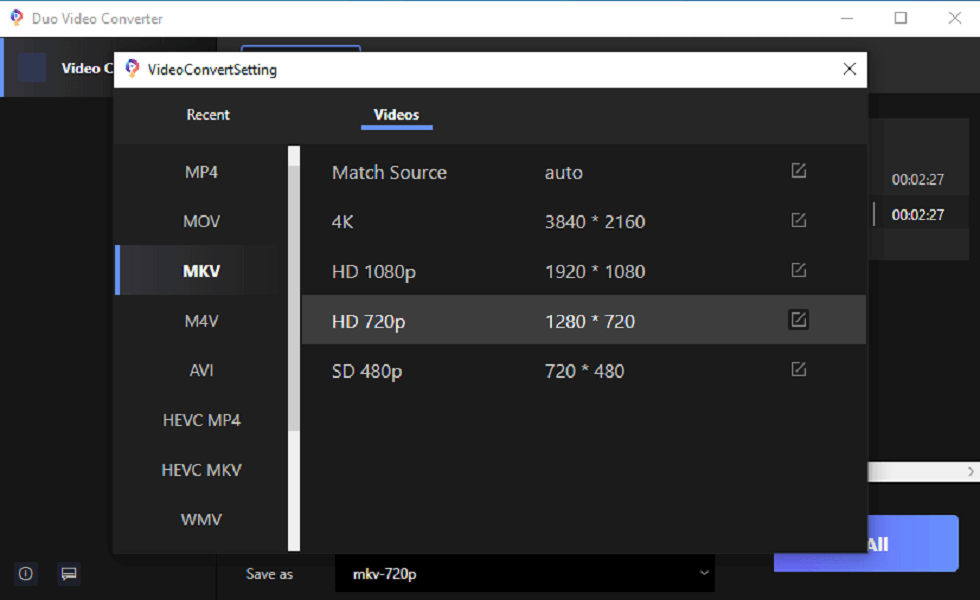
Choose the Video to Convert the Video Format
Trim Video
Click on Trim Video, a window will pop up and ask you to Select a Video File. Click on it to add the video you want to trim into the timeline.
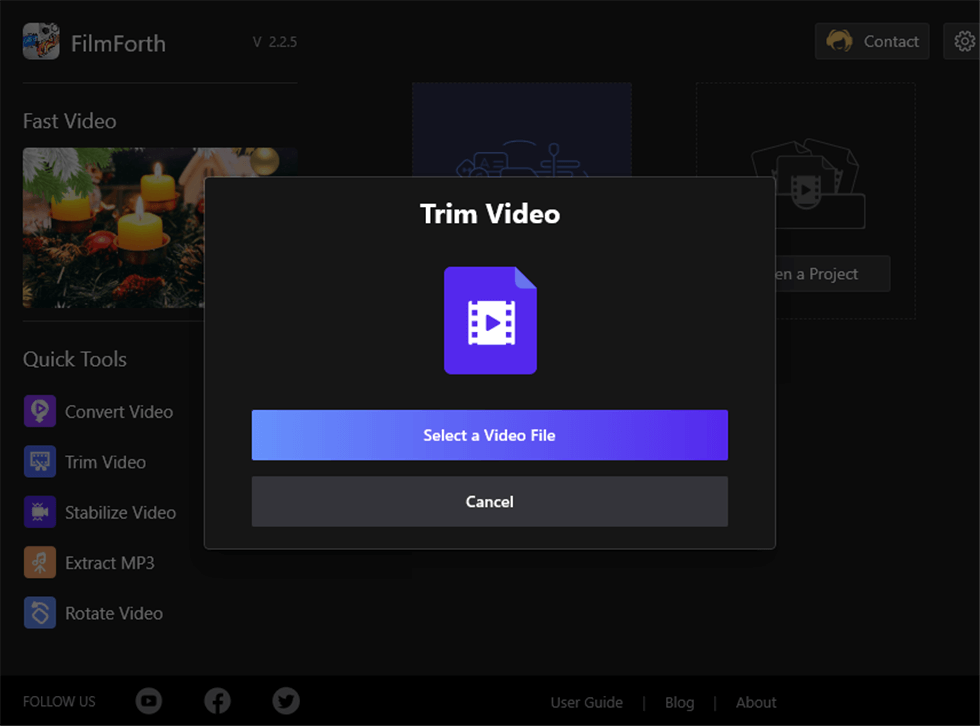
FilmForth Trim Video
Then, you can either drag the start bar and the end bar (indicated by the yellow arrows) to trim your video to the length you want, or you can left-click on the position you want the video to start and click Set Start, then left-click the mouse again on the position you want the video to end and click Set End.
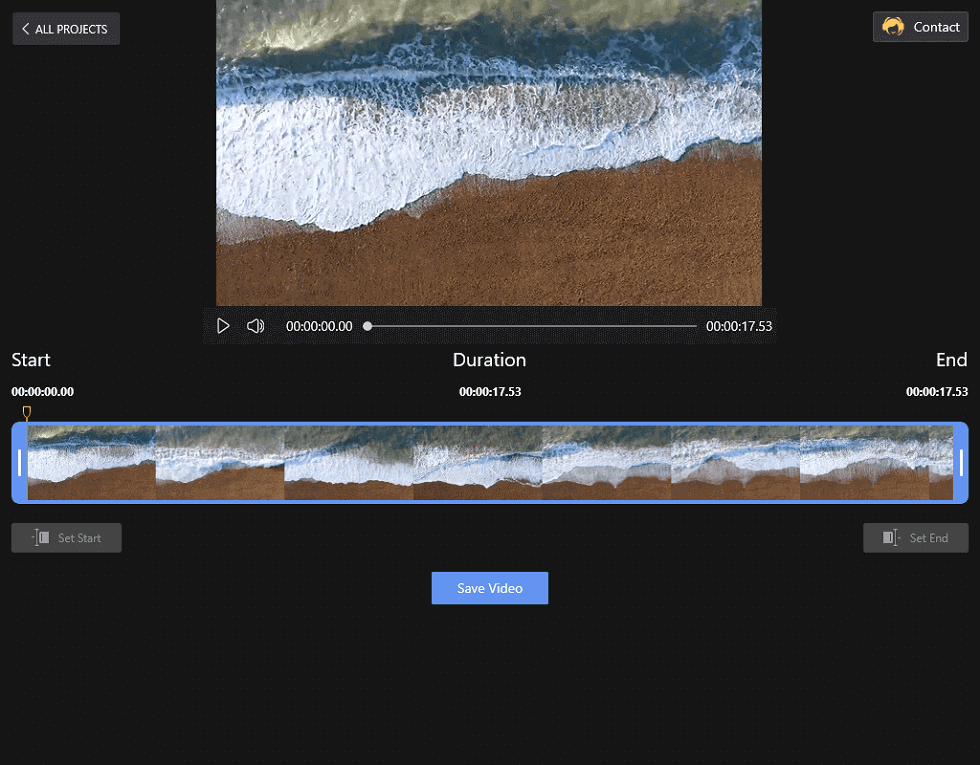
Trim the Video on FilmForth
Note: FilmForth at the moment does not support trimming a part of a video from the middle of a video clip. The feature will be rolled out soon, please stay tuned.
Lastly, click Save Video and a window will pop up. The resolution of the saved video will depend on the video you trimmed, so does the output file size.
You can adjust the Video Quality by changing the Bit Rate.
Frame rate is configured to 30fps by default. You can also define the default Frame Rate from the drop-down menu.
Tick off Export with a watermark to remove our watermark from the export, yet we’d be really grateful if you consider keeping our brand watermark for the sake of our brand influences, so that more people get to access this excellent tool.
Additionally, enabling hardware-accelerated encoding will considerably shorten the export time.
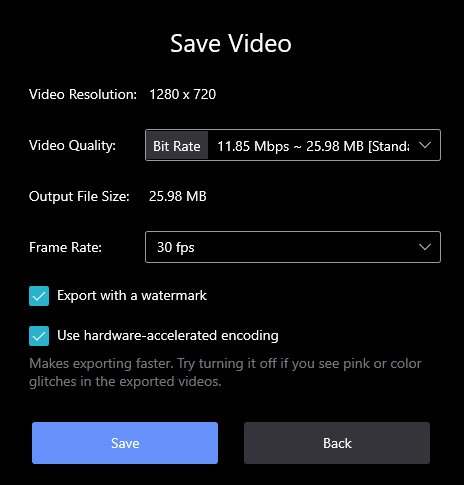
Save the Trimmed Video
Stabilize Video
The feature of stabilizing video is much easier.
Click Stabilize Video and Select a Video File in the popup window to add the video file you intend to stabilize.
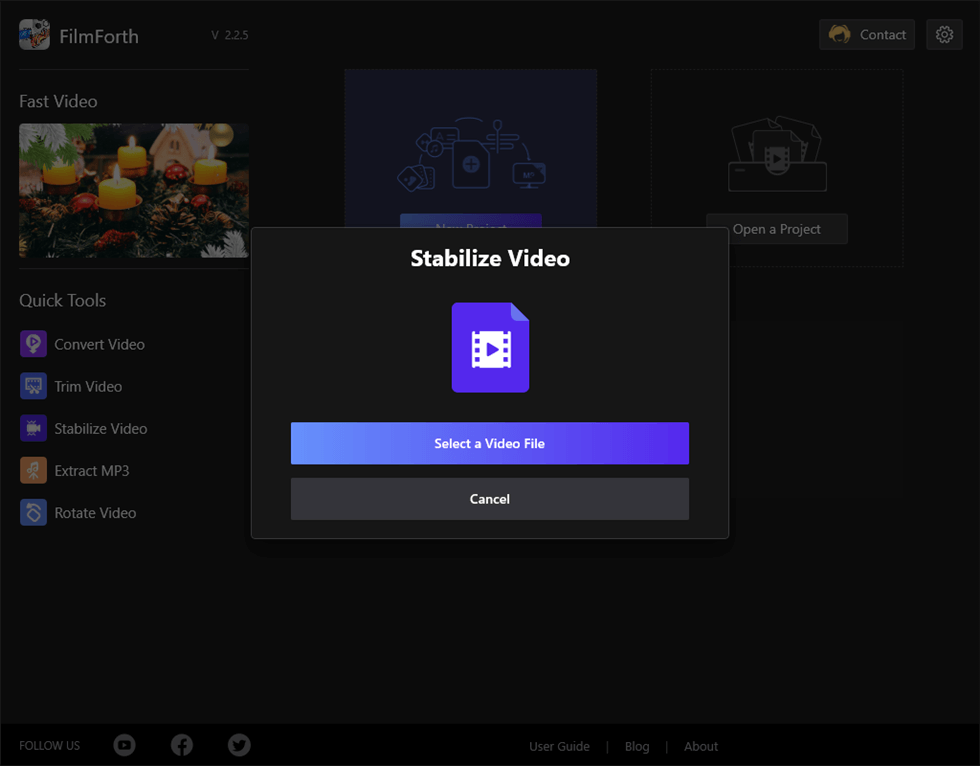
Stablize Video on FilmForth
Then, name your stabilized video and define the output file location. Lastly, click Save to store the stabilized video.
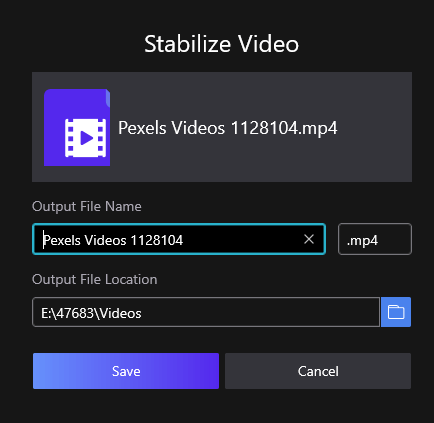
Save the Stabilized Video
Extract MP3
The process of extracting MP3 files from video is similar to Stabilizing Video, it’s conducted by clicking Extract MP3 and Select a Video File.
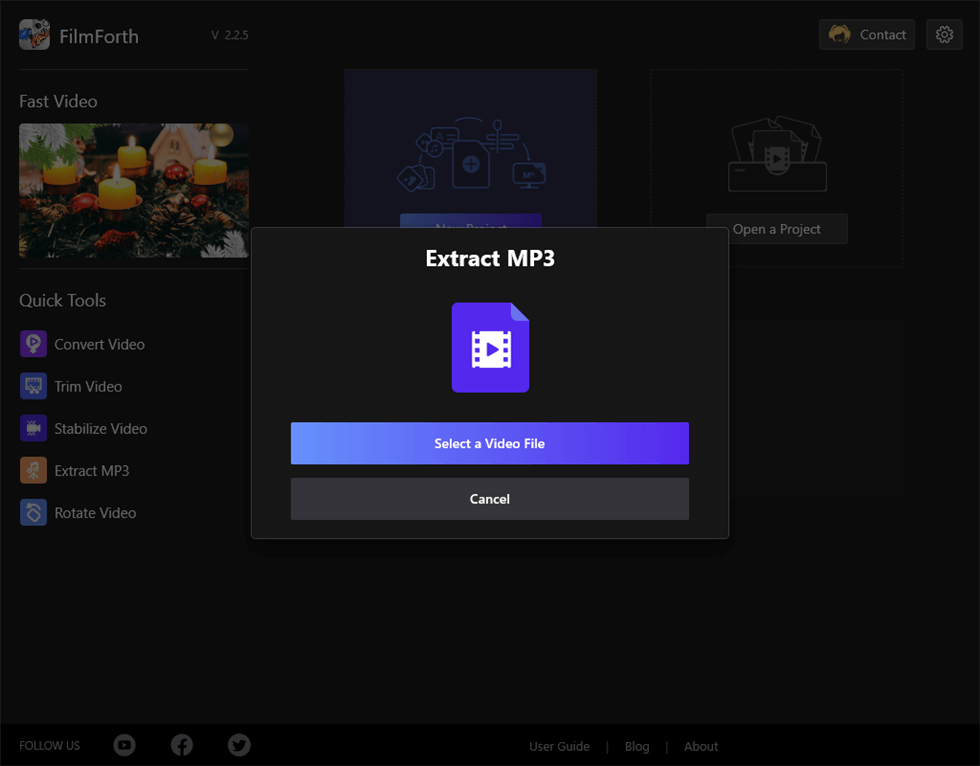
Extract MP3
Then you can name your MP3 file extracted from your video and choose the storage location. Lastly, click Save to save the MP3 audio to your computer.
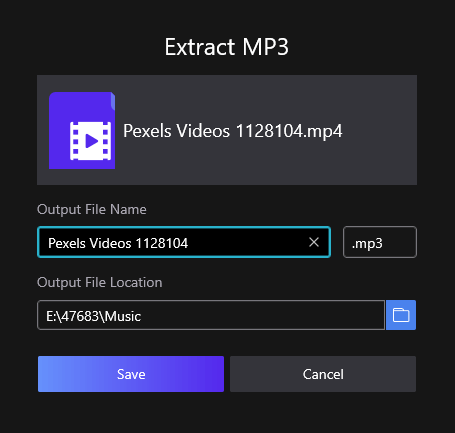
Save the Audio MP3
Rotate Video
Click Rotate Video and Select a Video File.

Rotate Video on FilmForth
Then there will be four choices to rotate your video: Rotate Left, Rotate Right, Flip Horizontal, and Flip Vertical, now you can rotate the video in the way you want.
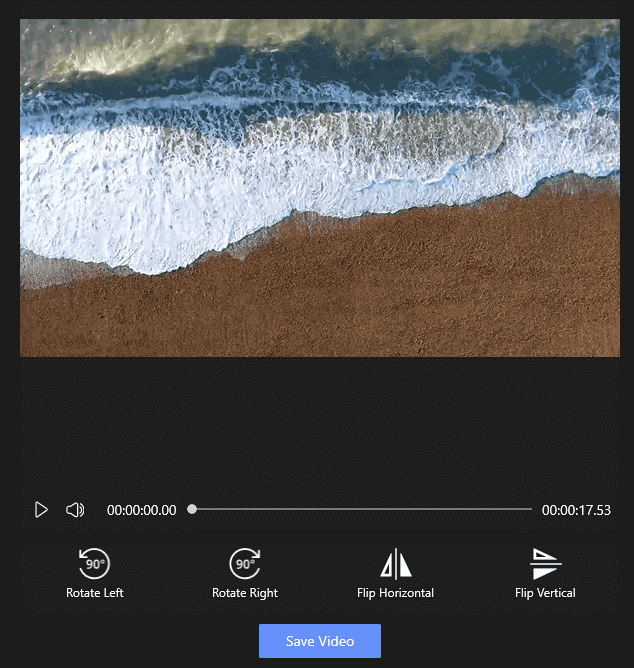
Rotate the Video You Want
After clicking on the Save button, you will see the information about your video. The saved video resolution will be in accordance with the video you rotated, so is the output file size.
You can select the Video Quality as you need. The Bit Rate is 11.85Mbps to 25.98MB by default.
Frame rate is set to 30fps by default. You can also define the default Frame Rate from the drop-down menu.
Tick off Export with a watermark to remove our watermark from the export, yet we’d be really grateful if you consider keeping our brand watermark for the sake of our brand influences, so that more people get to access this excellent tool.
Additionally, enabling hardware-accelerated encoding will considerably shorten the export time.
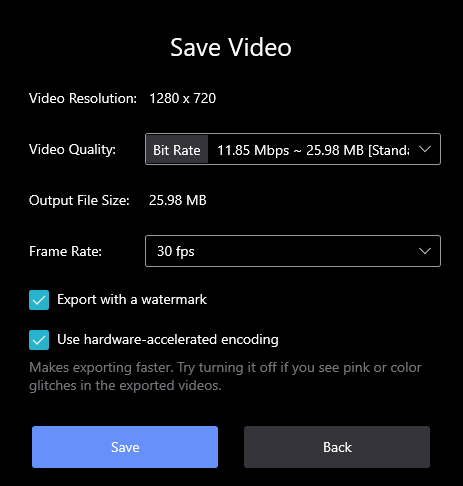
Save the Rotated Video
After going through the Quick Tools, let’s dive into the details of FilmForth’s other powerful features.