How to Zoom a Video in Adobe Premiere Pro CC in 2023 – Step by Step
On this page, you’ll learn from the detailed instructions on how to zoom in/out on part of a video in Premiere Pro and do a jump cut. The tutorial is illustrated so you can easily follow and get started on your own Premiere. Additionally, the free and easier Premiere alternative to zooming your video will also be introduced.
How to Zoom in Premiere Pro
Video zooming is a video editing technique well-used in film productions and content creations on YouTube, TikTok, Facebook, etc. For those that find the term unfamiliar, let me just remind you with a hint: the popular ‘Ken Burns’ effect, the movement effect commonly seen in video productions, which is simply the combination of video panning and video zooming.
If you’re wondering whether it’s possible for you to do the zooming in Adobe Premiere Pro, hopefully effortlessly? Worry you not, in this post, you’ll easily get the hang of zooming video in Premiere Pro, in less than 3 minutes. Now let’s get started!
Do Not Miss: Top 24 PC Games Download Websites, 22 Online Video Editors, 16 Best Video Editing Software for Mac
Premiere Zoom and Jump Cut Example
Check out the zoom and jump cut in Premiere Pro, I’ll show you how to do just that in the following tutorial.
Zoom and Jump Cut Effect in Premiere
How to Zoom in on Adobe Premiere Pro: Step by Step
This tutorial is demonstrated with Adobe Premiere Pro CC 22.5, and the method works with all later versions of Premiere.
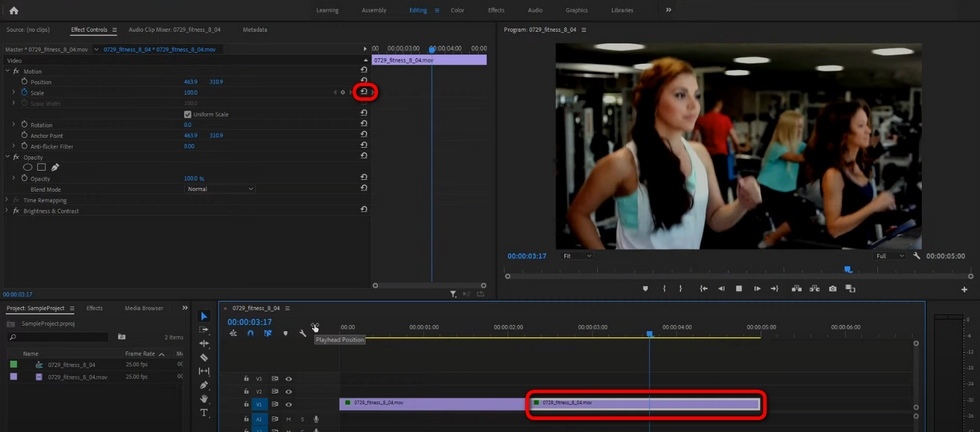
Step 1. Select Clip on Premiere Timeline
Launch Premiere Pro on your computer, import the clip you intend to zoom on and select it in Premier Timeline.
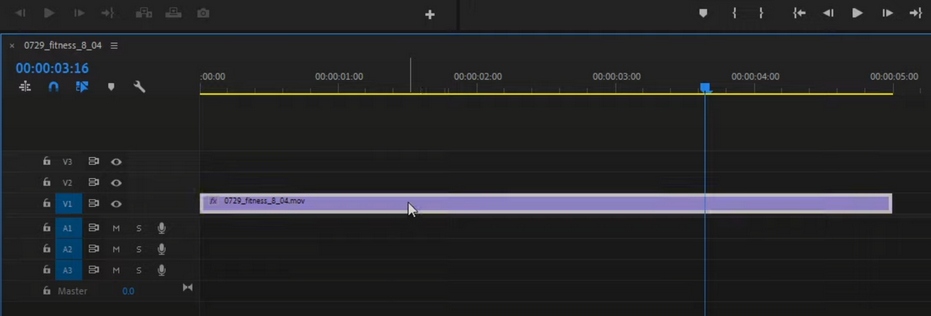
Select Clip in Premiere Timeline
Step 2. Position the Anchor Point
Go to Effect Control from the upper-left side, select Anchor Point from Motion options, go to the video preview window, and place it into the part of the video where you want to zoom in on.
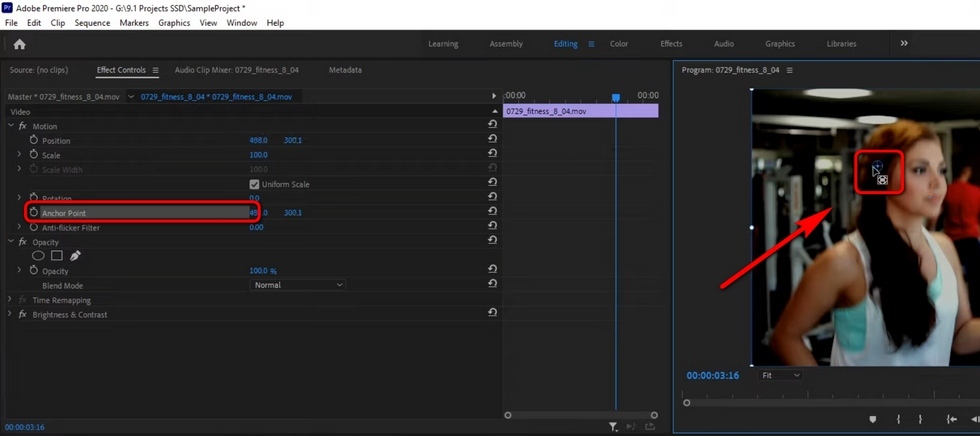
Place the Anchor Point
Step 3. Set the Zoom Starting Point
Right beside the preview window, you’ll see the mini version of the video timeline, drag the playhead of the video from the mini-timeline to create a start point for your zooming effect. Then go to Effect Control, and click the startwatch of the Scale option, to get a zooming starting keyframe.
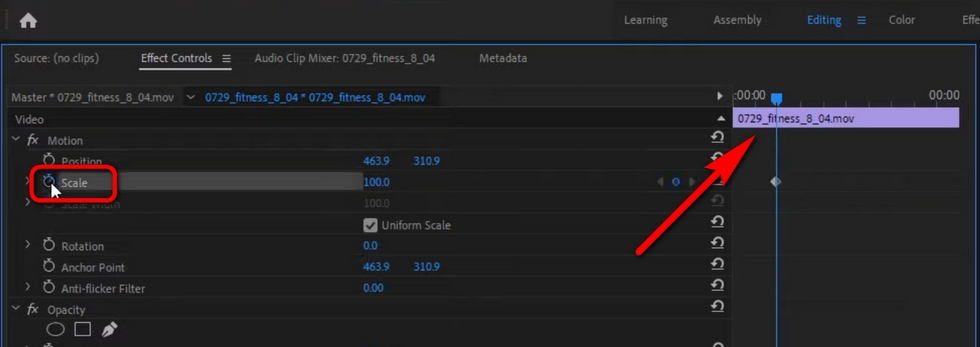
Create a Start Point
Step 4. Set the Zoom Ending Point
Move the playhead once more, from the mini-timeline, to where you want the zooming effect to end, and increase the Scale value to the degree you intend to zoom in, these are to create the ending keyframe. Between two keyframes are where you apply your zooming effect to.
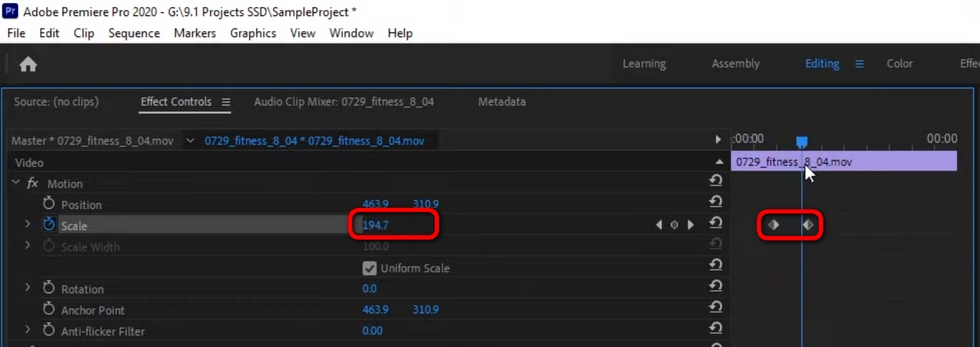
Create Zooming Ending KeyFrame
Step 5. Zoom Out on the Video
If needed, you can zoom back out on the clip after zooming in. To do so, create the two starting and ending keyframes in a like manner, and hit the Reset Parameter button to reset presets to the unzoomed value.
In so doing, you present a period of zooming in effect on your video and then zoom back out to the original view.
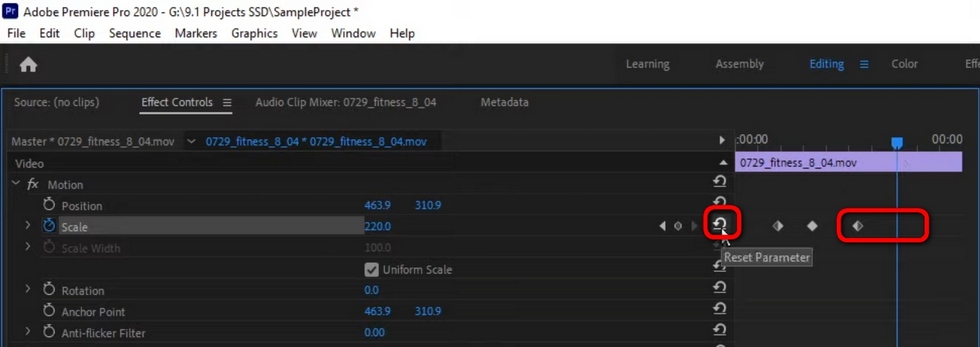
Zoom Out Video in Premiere
Step 6. Smooth the Zoom Effect
Premiere allows you to make the zooming effect smoother with the Ease In/Out feature, which will make your video look a whole lot better. Select the first two keyframes, right-click on them, and select Ease In from the dropdown.
Likewise, use Ease Out for the latter two keyframes to smooth the zoom-out effect.
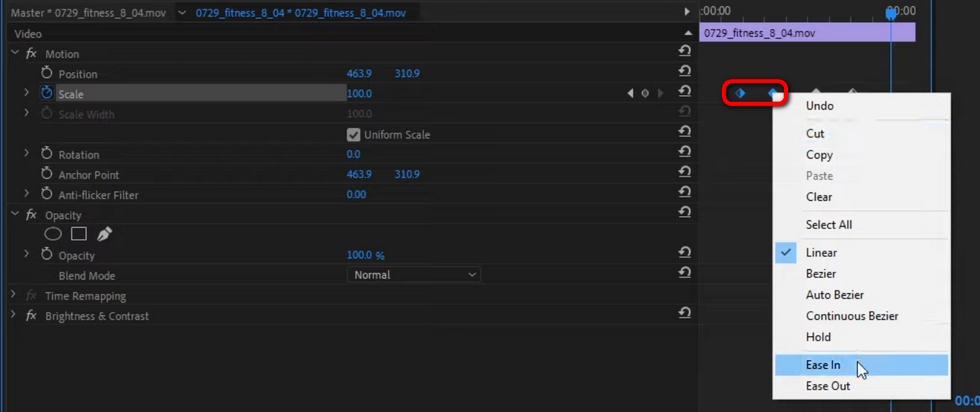
Make Zooming Smoother
Step 7. Do a Zoom and Jump Cut
Delete the last two keyframes (zoom-out keyframes), reposition the play head on the main timeline to where you want to put the jumpcut,
Use the Razor Tool to cut your clip at the very position, use Selection Tool to select the second clip in the timeline,
Go to Effect Control and hit the Reset Parameter button from the Scale option.
Do Zoom and Jump Cut
Adjust the Speed of the Zooming
Premiere also allows you to change the speed of your zooming effects. Drag to adjust the distance between two zoom-in or zoom-out keyframes to adjust the speed of the zooming effects.
How to Zoom in Premiere Pro Without Losing Quality?
First, you need to understand that zooming in on a video clip in Premiere inevitably results in a loss in video quality. But you can try setting the resolution to 1920 by 1080 using camera FPS. and use 4K and higher clips for zooming, and reframe at no more than 50.
How to Slowly Zoom in on Premiere Pro
As mentioned, you can adjust the zooming speed in Premiere by altering the distance of keyframes. Set the zooming-in keyframes farther so you can slowly zoom in on Premiere.
Zoom in Timeline Premiere Pro Shortcut
Apart from the introduced method, you also use a shortcut to quickly zoom on video in a timeline in Premiere Pro, which ALT+Mouse wheel.
When Do You Need to Zoom Your Video in Premiere Pro?
Every video effect is used in a video or film for a reason, whether it’s for entertaining the audience, putting more emphasis on your ideas, or highlighting a proportion of a scene. And you should know when and where the zooming effect is suitable for your video.
- Attract your audience’s attention
- Focus on a smaller detail in the scene
- Deliver a creative point of view
- Fit a cropped video to sequence setting
- Get a view of certain aspect ratio
How to Zoom a Video Using Free Premiere Alternative
Using Premiere Pro simply for basic video zooming effects is kinda overkill, not to mention the high pricing it charges for the subscription. If you’re not some top YouTubers or video editing professionals, there are other solid options for you to zoom your videos in a much easier manner, and without forking out too much.
Allow me to introduce: FilmForth, the best free Adobe Premiere Pro alternative for you to edit your videos flexibly. It’s a practical and easy-to-use video zoomer app that allows you to pan and zoom your videos in simple steps.
Now hit the Download button to get FilmForth for free from Microsoft Store, and follow the tutorial to get started!
Step 1. Create a new project and import your video.
Step 2. Hit the Motion button from the lower panel.
Step 3. Set the Start and End points to zoom your video.
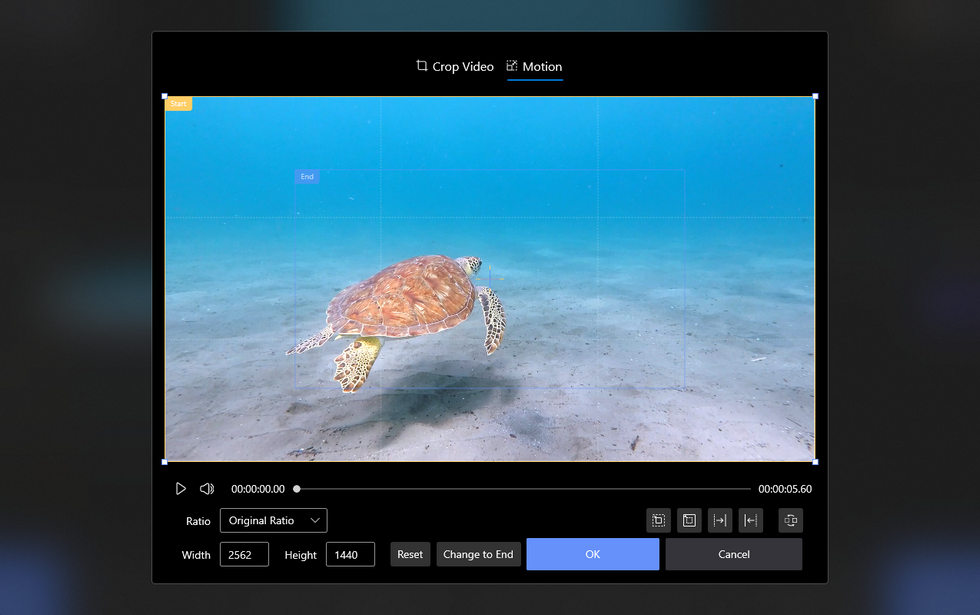
Zoom a Video in FilmForth
Conclusion
Since you’re here already, I believe you’ve learned from this guide and have become sort of a zooming expert in Premiere Pro! Since this post has covered practically everything you need in terms of zooming in Premiere. Don’t forget to have a try at these skills on your own Premiere when you have time.
Moreover, the recommended free Premiere alternative is also worth your try, especially if you don’t have a Premiere subscription.
And if you have questions to ask or insights to share, don’t hesitate to drop us a line in the comment section below to let us know how you think.

Karen is a professional writer with a background in column writing who enjoys resolving complex topics and explaining them in interesting ways.
