How to Blur Faces in a Video on Mac, Windows, iOS, and Android for Free
Based on the protection of personal privacy or some other reasons, you need to blur the face in a video, so what steps do you need to go through to achieve the operation of face blurring? The following gives you five ways.
Are you a very private person? But sometimes you want to share your happy moments or record videos of your life on social media platforms. This must make you feel very torn and troubled. So, a powerful feature – Blurred Face, becomes one that you need very much. Please read on and you can learn how to blur faces in a video with some simple steps in this article for Mac, iPhone, iOS, and Android.
How to Blur Faces in a Video on Windows
Shotcut is a video editing program that can be used on your desktop and it is free because it is open source. You can enjoy unlimited video editing without watermarks and without having to worry about any compulsory paid items. Shotcut is not only a video editor that allows you to quickly blur faces but also a program that helps you quickly learn how to edit videos. Know More About Shotcut from Our Shotcut Review.
Steps to Blur Faces in a Video:
Step 1. Downloading Shotcut software from the official website, click the “+” in the middle of the main interface to add video clips to Shotcut. And drag the added video clips from the media panel to the timeline panel by mouse.
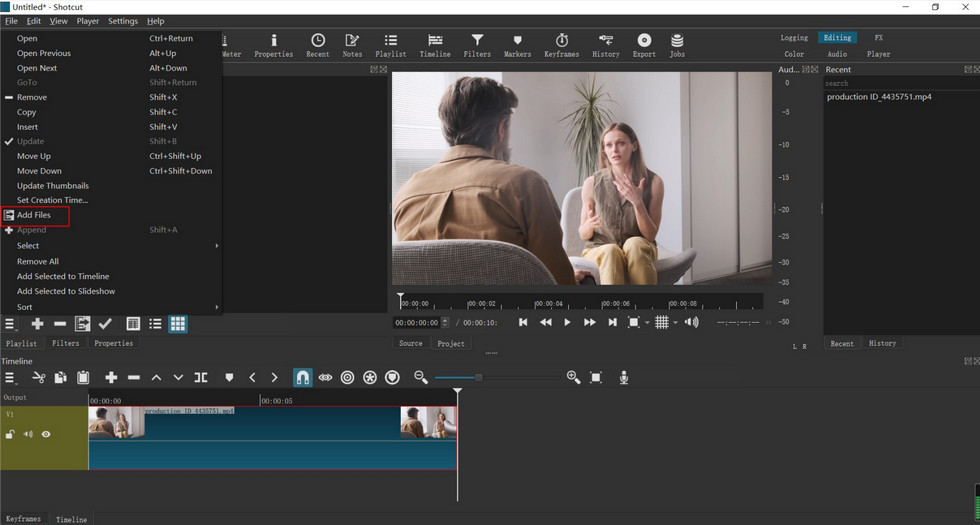
mport the Video to the Shotcut
Step 2. Click the “Filter” tab at the bottom of the media panel, you can search directly or find the “Mask: Simple Shape”, ” Blur”, and “Mask: Apply” filter options.
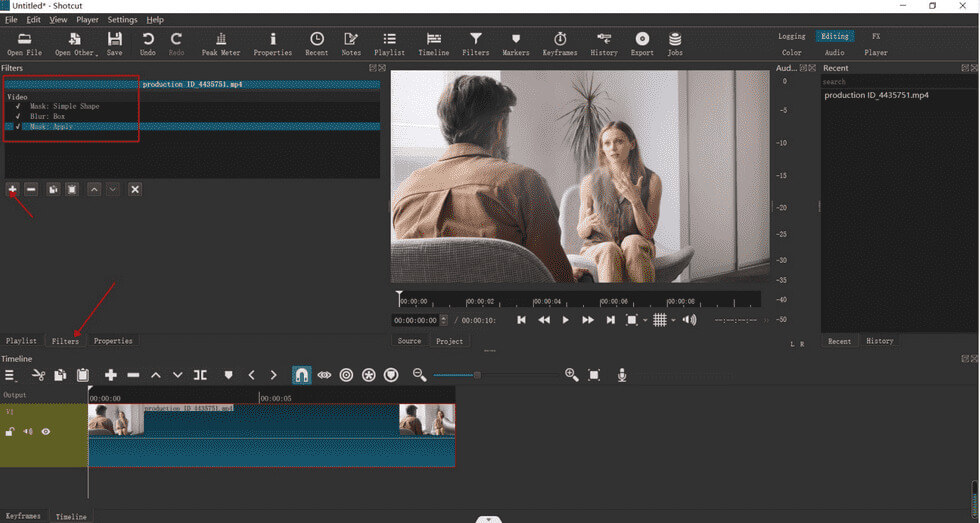
Add Blur Mask to the Frame in Shotcut
Step 3. Click the “Mask”, “Simple Shape”, and “Blur Filters” tabs respectively, you can see that there will be specific parameter adjustments below, by dragging the parameter bar to adjust the mask area, position, size, and blur level. You can adjust the mask area, position, size, and blur level by dragging the parameter bar.
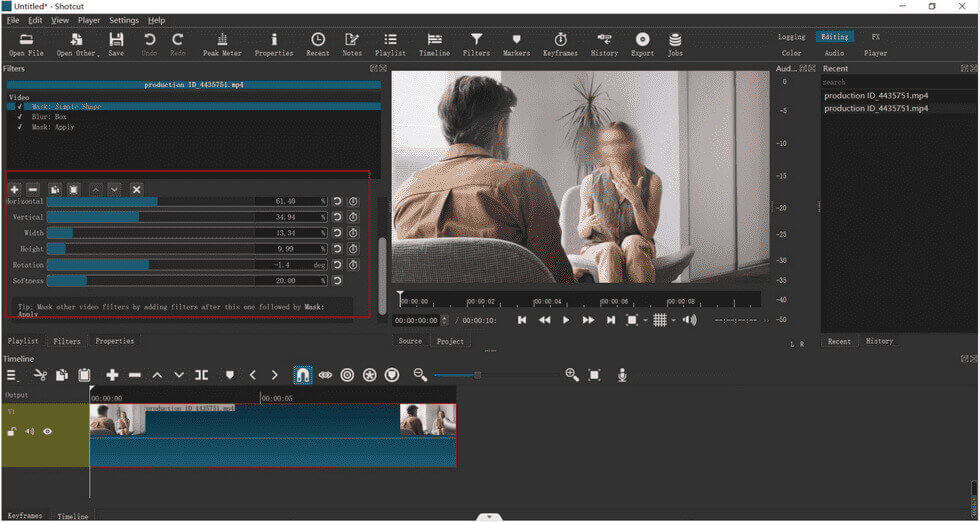
Resize the Blur Mask in Shotcut
Step 4. Drag the pointer above the timeline to adjust the position of the mask for each frame to fit the whole video.
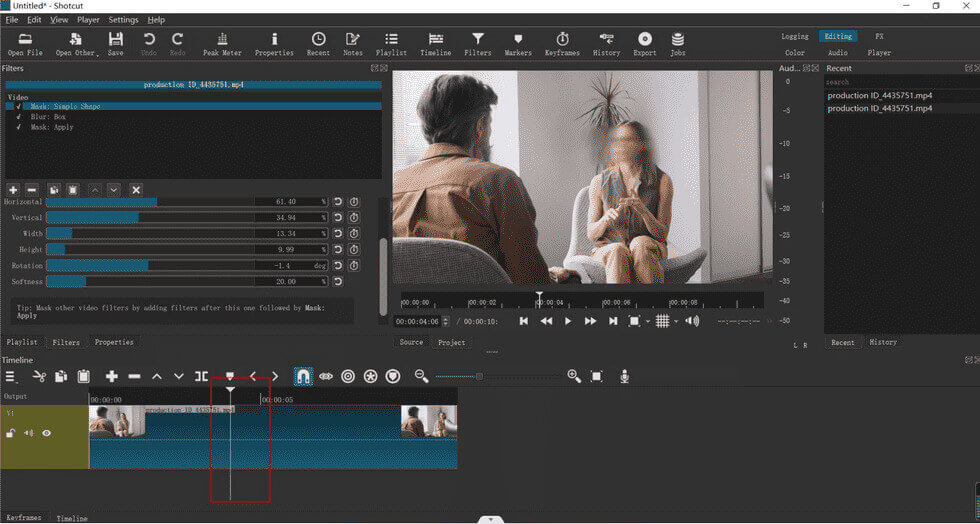
Adjust the Position of the Blur Mask Throughout the Video in Shotcut
Step 5. View the whole video in the preview panel and click Export on top to export the whole video when you are done.

Export the Video from Shotcut
How to Blur Faces in a Video on Mac
iMovie is a piece of video editing software that works on both desktop and mobile. You can create or edit any video you want in iMovie by your imagination. Also, the powerful features allow you to export high-quality videos in no time even if you are new to video editing. If you want to have a more comprehensive understanding of iMovie, a powerful video editor, this comprehensive review of iMovie will be a very good guide.
Steps to Blur Faces in a Video:
Step 1. Go to Apple Store to get the iMovie application, and open a video you want to edit in it (please note that you check Show Advanced Tools in the settings).
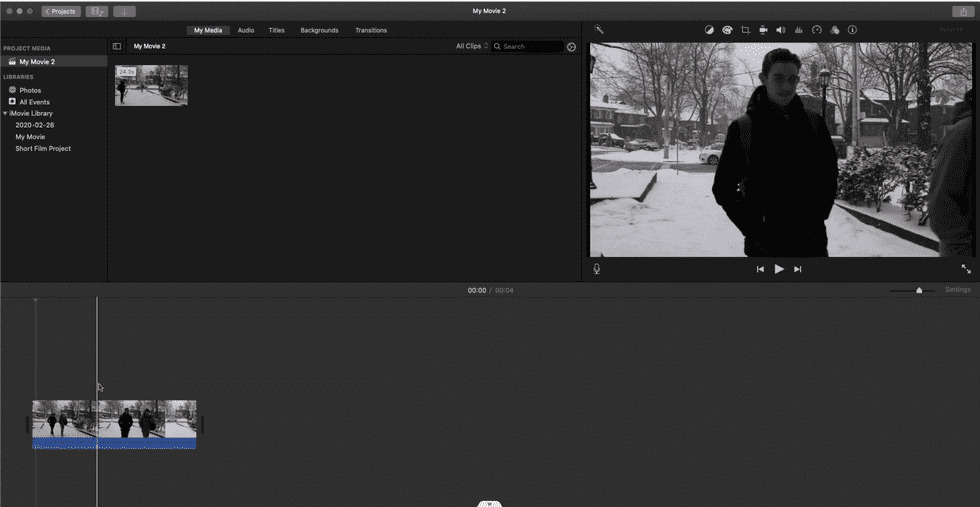
Open a Video in iMovie
Step 2. Take a simple screenshot of the face or area you want to blur and import it to Photoshop or other image processing software to blur the part. Then save it to your folder.
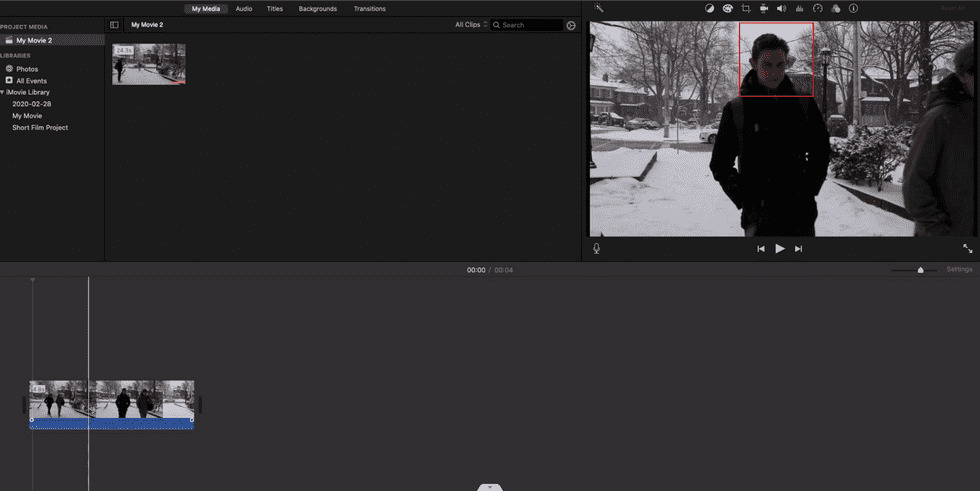
Screenshot Faces from the Video Footage in iMovie
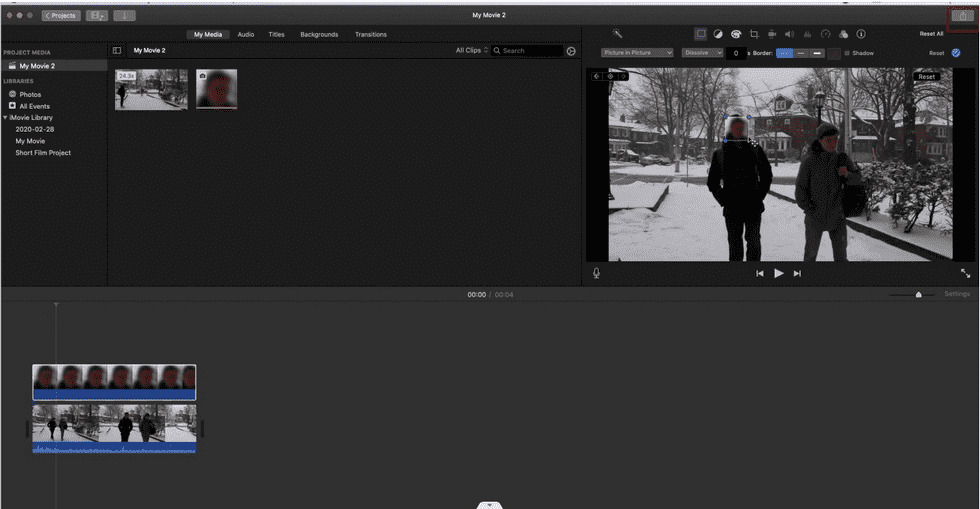
Step 3. Add the processed file to the iMovie video as a picture-in-picture, select Menu – Picture-in-Picture, and stretch the duration of the picture-in-picture to the same length as the video.
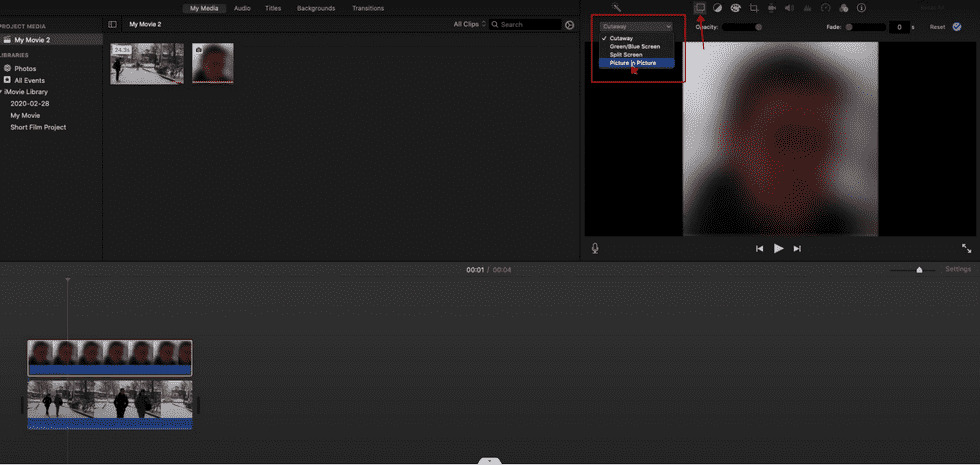
Add PIP Effect in iMovie
Step 4. Use the mouse to resize and position the picture-in-picture to fit the whole video.
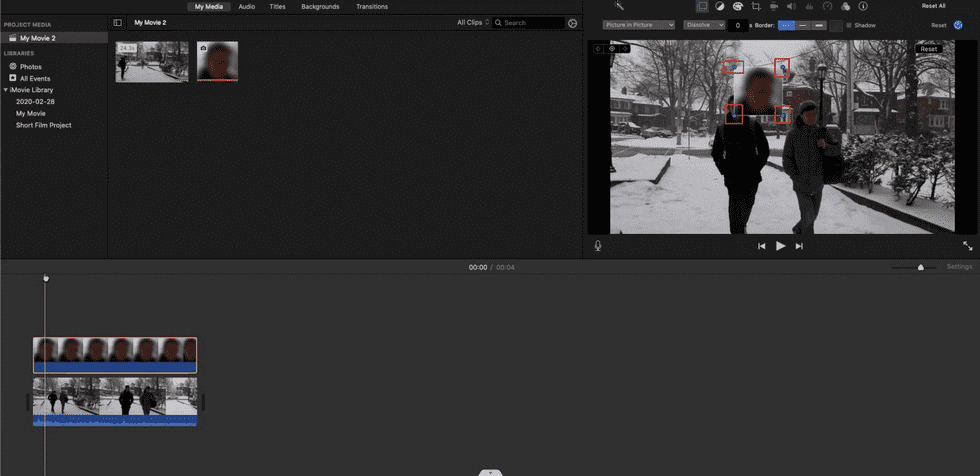
Resize the Blur Mask
Step 5. Click to save the video to your computer folder when you are done.
Save the Video in iMovie
How to Blur Faces in a Video Online
FlexClip is an online video processing tool with very simple logic but very powerful functions. In addition to the usual functions of cutting, rotating, and adding filters, it can also add picture-in-picture, out-of-picture sound, screen recording, and other in-software functions. Therefore, it has received a lot of love from users.
Why we recommend FlexClip online video editor is that it’s one of the best online video editors for its versatility.
Steps to Blur Faces in a Video:
Step 1. Go to the FlexClip website, and click “Media–Local Files” on the left to upload the media video.
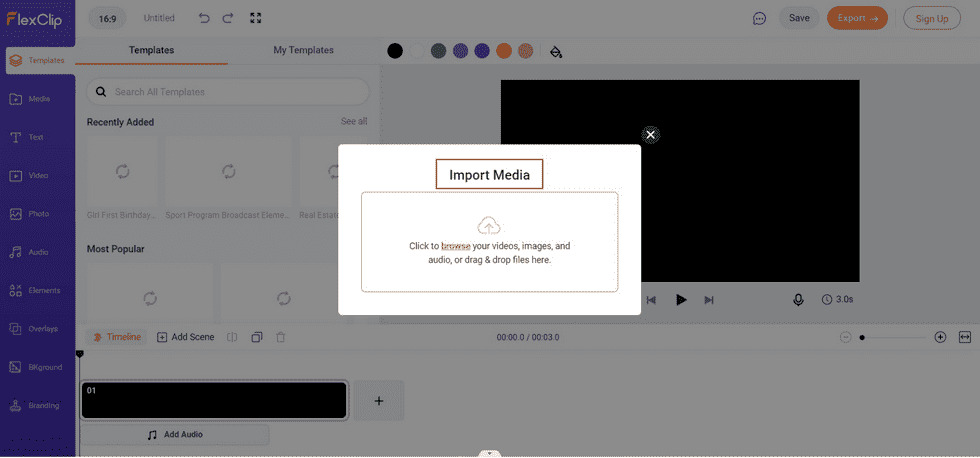
Upload the Video to FlexClip
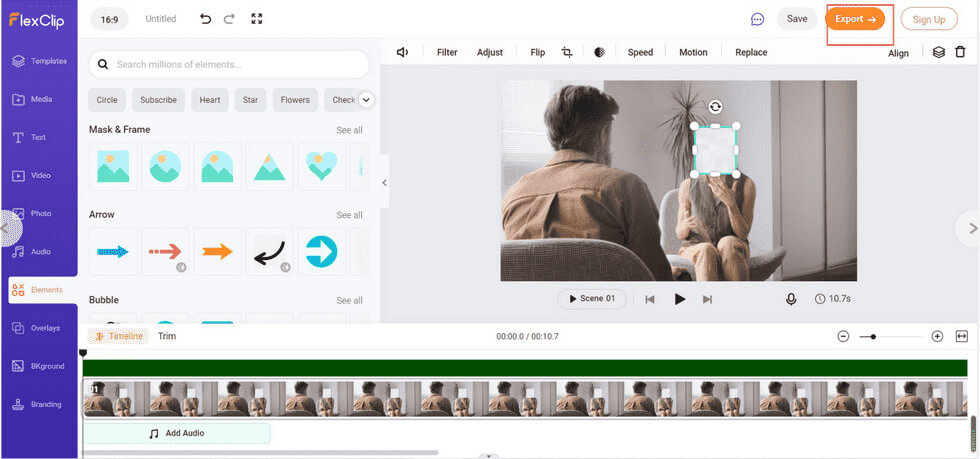
Step 2. Click “Video-mosaic-picture in picture”, and add the blur effect you want to add to the video. Select the mask in the video, click “Element” and choose a shape according to the area you want to blur.
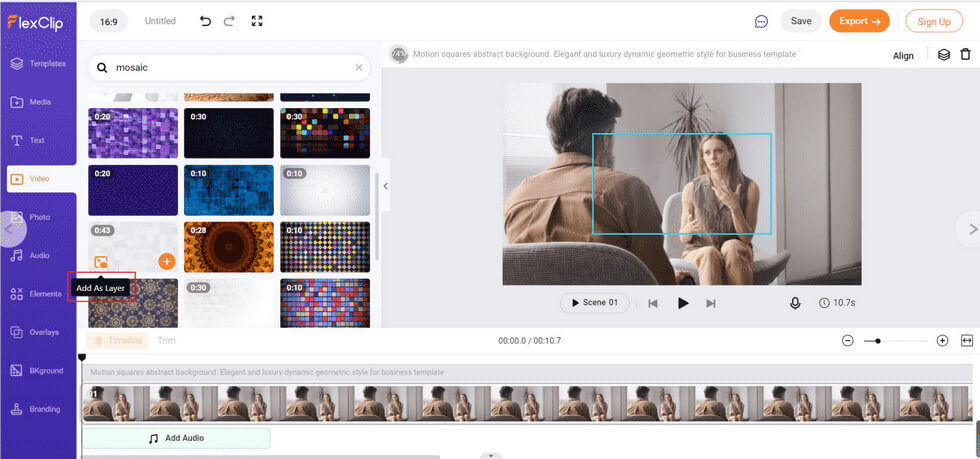
Add Blur Effect to the Video in FlexClip
Step 3. Adjust the size and position of the blurred area to achieve the effect you want.
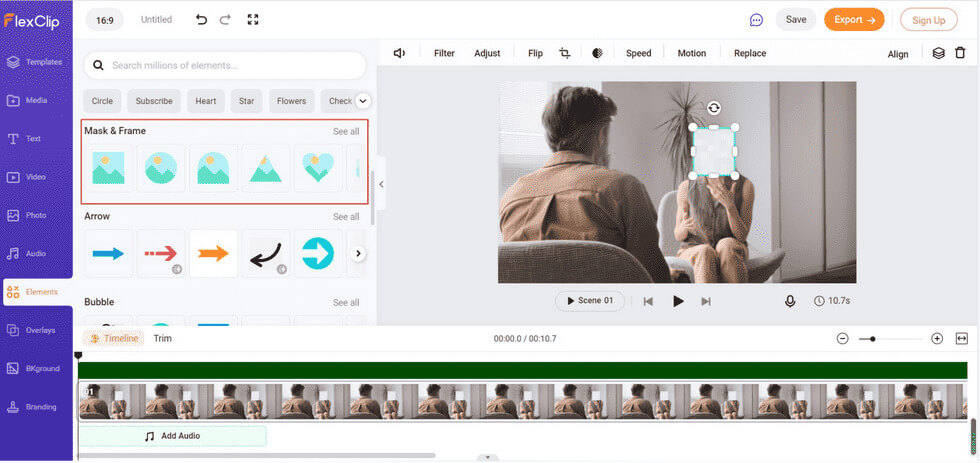
Adjust the Blur Mask in FlexClip
Step 4. Click the “Save” or “Export” button on the top right to save or share the video.
Download the Video from FlexClip
How to Blur Faces in a Video on iOS
MovStash is a piece of video editing software for iOS only. As it is advertised, it is a very user-friendly program that can help you finish blurring videos or mosaic videos. You only need a few easy clicks to make the faces in the video blurred.
Steps to Blur Faces in a Video:
Step 1. After downloading the MovStash APP, open it on your iPhone.

Open the MovStash APP
Step 2. You will find four mosaic modes for you to choose from: Blur entire a video mode, Simple blur mode, Blur with time-line mode and Face tracking mode.
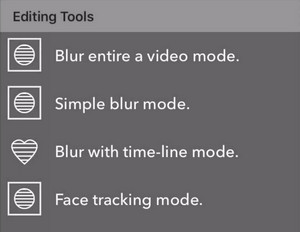
Four Mosaic Modes to Choose in MovStash
Step 3. Click Face tracking mode to automatically recognize the face in the video. Adjust the blur size and area according to your needs.
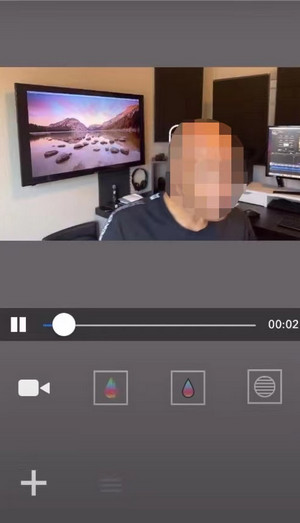
Blur Faces Automatically in Video in MovStash
Step 4. Click the Save button on the top right to get the video after finishing all the operations.
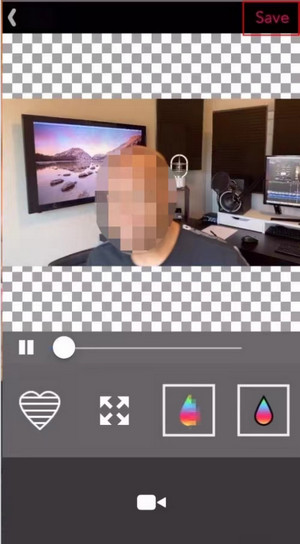
Save the Video in MovStash
How to Blur Faces in a Video on Android
CapCut is a unique and user-friendly app for cell phones, which is as comprehensive and powerful as some desktop video editing programs. So it is favored by many people. And it is very easy to make videos with CapCut for posting on TikTok. In addition to blurring faces, CapCut’s other features can also surprise you. Know More Functions about CapCut from CapCut Review.
Steps to Blur Faces in a Video:
Step 1. Get the CapCut App from its official website, import the video if you want to add the blur effect to CapCut.
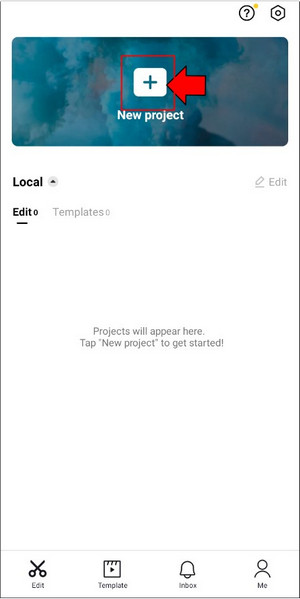
Import a Video to CapCut
Step 2. Click Overlay-add overlay to overlay an identical video on the timeline and enlarge it to the same size as the main video with your finger.
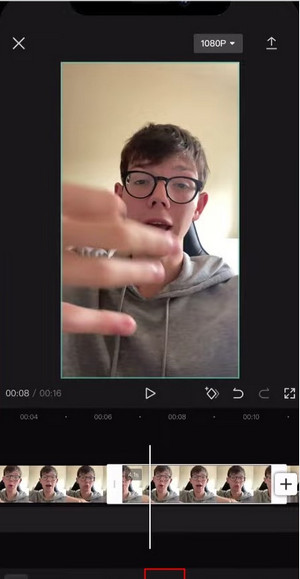
Add Overlay to Video in CapCut
Step 3. Click the “Effect-Basic-Blur” option in the toolbar. Then find “Object” and select the area you want to cover: Overlay.
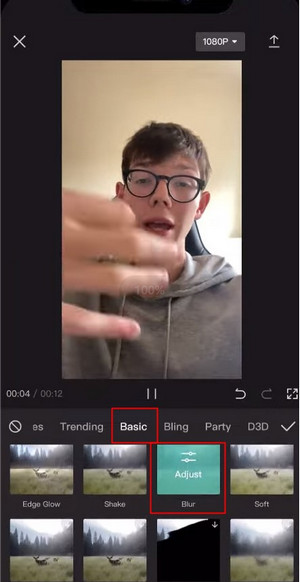
Add Blur Effect to Overlay in CapCut
Step 4. Go back to the main interface and click “Overlay-Mask” to choose the shape of the blur mask you want, and adjust its shape and size by dragging the arrows around the mask.
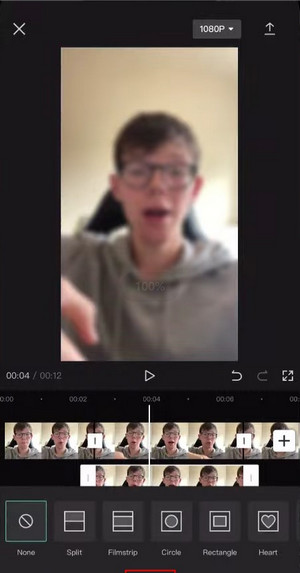
Choose Mask Shape in CapCut
Step 5. Depending on the video track, you can set the keyframe by using the diamond button in the middle of the main interface to adjust the track of the mask to make sure it is always covering the face.

Set Keyframes to Video in CapCut
Step 6. Finally, click the up arrow at the top right to save the video.
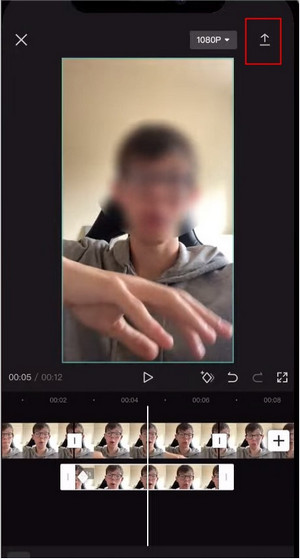
Download the Video in CapCut
FAQs:
How can I Blur Faces on Phone Videos for Free?
The desktop program can be too professional or inconvenient for some people to carry around, so how to blur faces on the cell phone has become a need for everyone. All you need to do is download CapCut, import the video, then add the blur effect, and resize it for a simple operation.
What should I Do to Blur Faces in a Video in Adobe Premiere Pro?
Adobe Premiere Pro is a video editor with a very high degree of professionalism. So, what do you do if you want to implement a face blur operation? You just need to follow these steps: click the Effects Controls tab – select Camera blur settings – select the mask shape you want to add and adjust.
Can I Blur Faces with an Online Tool?
Downloading any software will take up storage space, if you don’t want to be occupied with any storage space on your computer or phone, maybe an online tool would be your first choice. You can choose to use Flixier.com to easily blur the faces in your video, upload your video directly to the website, click on the Shape tab and choose Square Mask – Blur or Pixelate, move the timeline to adjust the mask position to fit the video, and finally export it.
How Can I Blur Faces in a Video Software?
Nowadays, many people like to travel to various places and if you take a video during your trip and want to do some blurring immediately and then post it on social media platforms, you can download a Video Mosaic application on your mobile phone that will allow you to do partial masking of your video anytime and anywhere. Then you can download a Video Mosaic application on your phone, which allows you to do partial blurring of the video anytime, anywhere. All you need to do is select the face to be blurred directly from the app.
Conclusion
The above provides you with five tools for different platforms that allow you to implement face-blurring operations, so you can always try them out, no matter which device you are using. This can effectively protect your privacy or hide a mysterious identity with a very simple operation. Of course, if you are looking for quality and efficiency, then the FilmForth video editor for desktop applications would be a better choice.

Karen is a professional writer with a background in column writing who enjoys resolving complex topics and explaining them in interesting ways.
Related Articles
FilmForth - Free Video Editor
- Easy to use and no skill required at all.
- Export video to MP3 with one click.
- Add transitions, effects, filter, text to the video as you want.
- Remove, replace, record and edit the background audio easily.
- Change the speed, volume, and subtitle on video with ease.
- Stabilize, trim, rotate, and convert video in seconds.