3 Free Methods to Trim Videos on Windows 10 and Windows 11
Uncover 3 efficient and free methods to trim your videos on Windows 10 and Windows 11. All these provide an easy way to handle your video editing needs without any added cost.
When it comes to recording videos, there’s often a high chance you’ll end up with an excess of footage. Whether it’s capturing the perfect family moment, documenting an unforgettable adventure, or creating a compelling business presentation, having more material than you initially planned is a common occurrence. To ensure your video is succinct and impactful, a certain level of post-production work is necessary. This primarily involves trimming and discarding the unneeded segments of your video, fine-tuning the final output to keep it relevant and engaging.
However, the process of trimming videos may not be straightforward for everyone, especially with the multitude of video cutters available. Each comes with its unique features and varying levels of complexity. That’s why it’s crucial to select user-friendly methods to get the job done without unnecessary hassle. Today, we’re going to take you through three of the popular methods to trim videos on Windows 10 and 11. These techniques not only make video editing a breeze but are also absolutely free, allowing you to create professionally trimmed videos without any extra cost. Get ready to learn how to effectively manage your footage and produce captivating videos right at your fingertips!
1. Trim Videos on Windows 10/11 via Windows Photos Application
Photos is not only a free built-in video editor on Windows 10 and Windows 11 but also a video trimmer that supports cutting the video as you need. It provides free video editing features like video cutting, video rotating, texting, and adding effects, etc. to help Windows users get video editing jobs done well with ease. Now please follow the steps below to get the video trimmed by Photos.
Step 1. Choose Video Editor on Photos
Run Photos on the computer. You will see there are Collection, Albumes, People, Folder, and Video Editor options on the top left corner. Choose Video Editor.
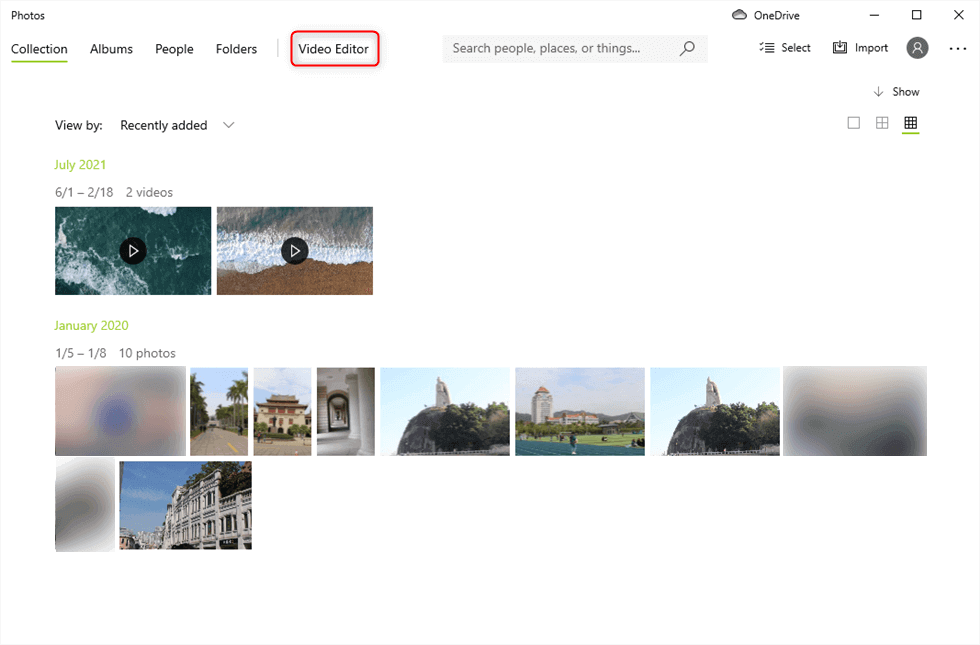
Choose Video Editor on Photos
Step 2. Start New Video Project
Once you click the Video Editor and then there will pop up a window as below. You should tap the New video Project button to select the video you want to trim.
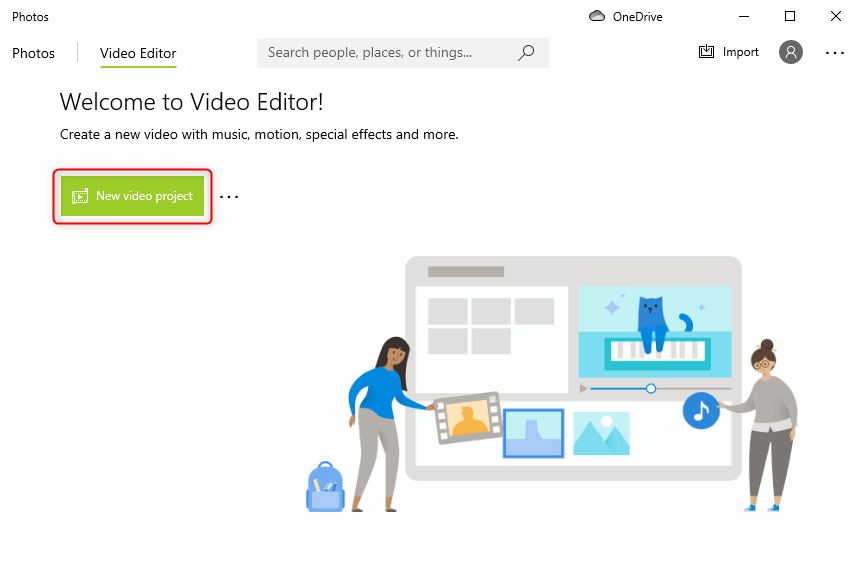
Create New Project on Photos
Step 3. Trim the Video
The video you uploaded will show up in the Project library. Now you have to drag this video to the Editing area where the video editing toolbar is located. You can see the functions listed. Tap the Trim button to go on.

Trim the Video by Clicking the Trim Button
Step 4. Move the Slider to Trim Video
The colored slider only shows the current frame and has no effect on trimming. To trim videos, simply select the area you wish to keep by maintaining it between the two white circles, and then click the Done option located at the corner portion of the window to save a copy of your trimmed video.
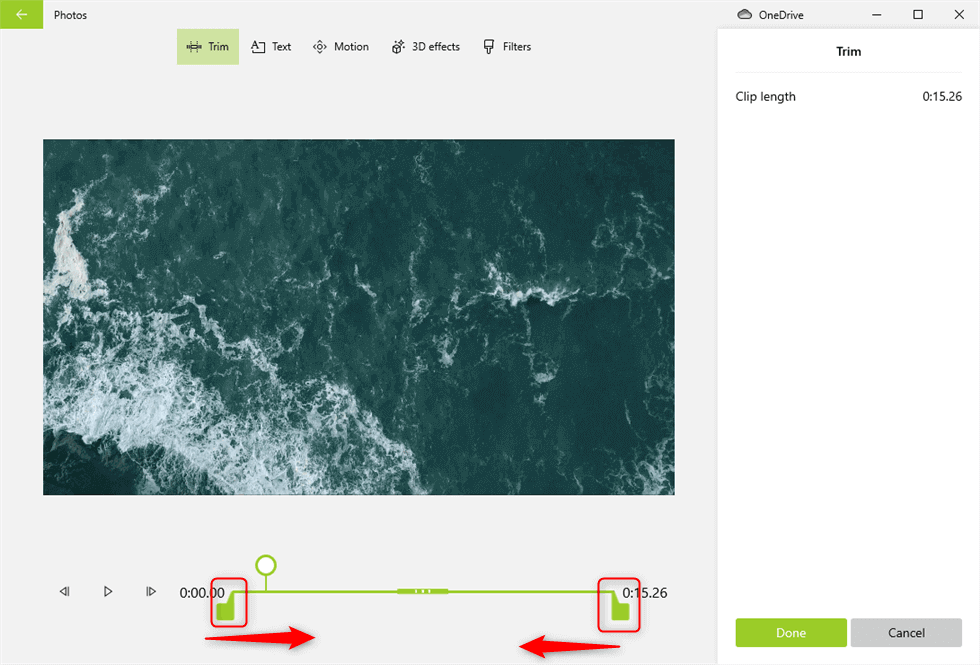
Move the Buttons to Set Start and End on Photos
As you’ve probably realized, trimming videos with the Photos app is really easy! The bad news is splitting the video is much more tedious because you have to split one by one and combine them at last. But if you don’t want to download any video trimmer on Windows 10 or Windows 11 and you do need to do some simple edits, Photos would be the best!
If you want to edit the video with some advanced video editing features like picture in picture, removal video background, and voiceover of the video, etc., Photos won’t be the one for you. You can find a Photos alternative, FilmForth, a free and no-watermark video editor that can realize your creative vision work with ease.
Now let’s dive into the detailed steps to trim the video with FilmForth.
2. How to Trim Video with a FilmForth Free Video Trimmer
FilmForth is one of the best free video editors for Windows and it offers tons of practical features without cost. Let’s take a look at how to trim a video on Windows 10 with this video tutorial of FilmForth before we get the steps below.
Step 1. Run Video Trimmer on the Computer
Download FilmForth from Microsoft Store and install it on the computer. You can simply click the button below to download it directly from the Microsoft store. Once you’re on the store page, click on ‘Get’. The computer will handle the installation automatically, and it should take about 3 to 5 minutes.

Step 2. Upload the Video
Open FilmForth and click on “New Project” as shown below. You’ll need to add the video file you wish to edit.
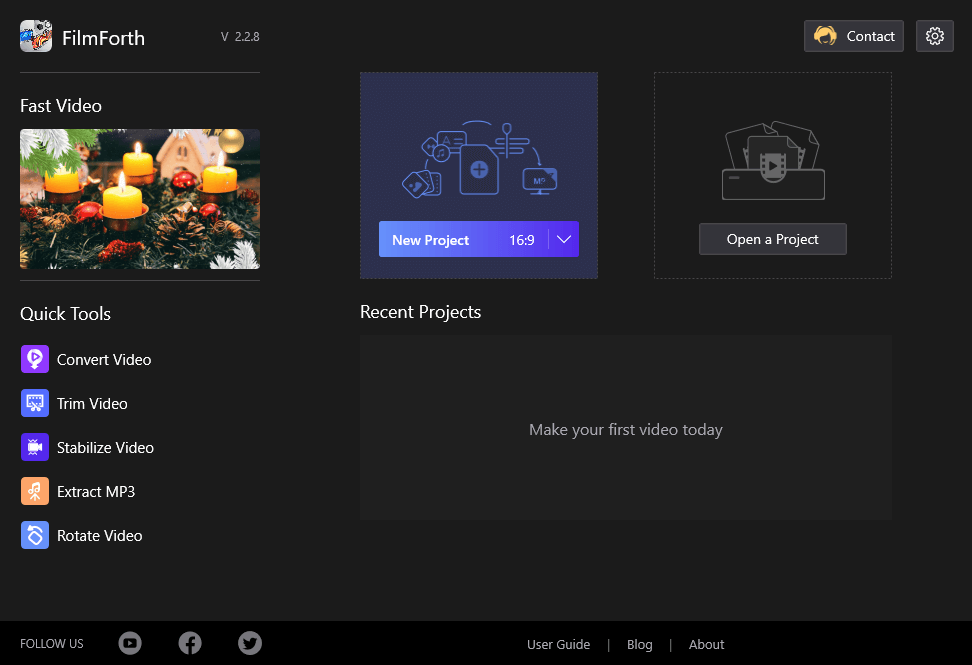
New Project on FilmForth
Once you’re there, find the video you wish to edit by navigating to the folder where it’s located and clicking on it to add it to the timeline. After the video was loaded, your timeline should look like this.
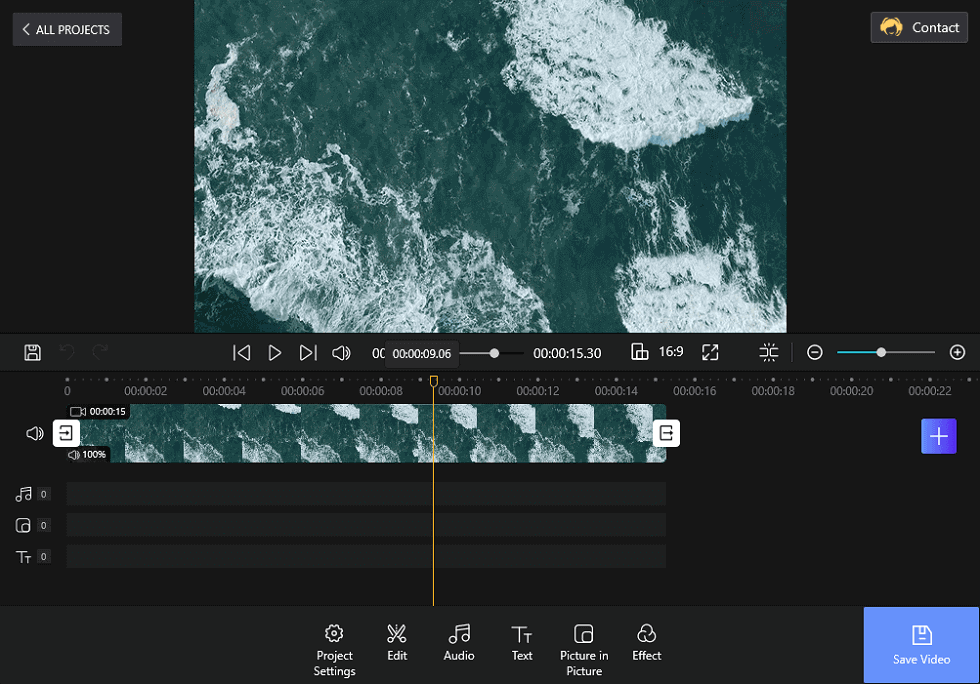
Video Added to FilmForth
Step 3. Trim the Video As You Want
There are lots of function options on the toolbar. You need to choose Edit and the Trim button will pop up.
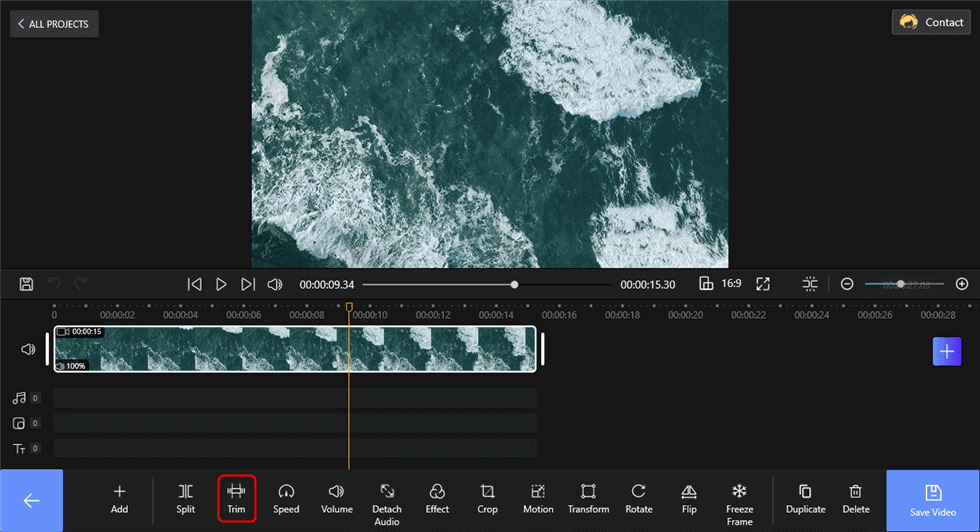
Click the Trim Button to Trim Video
Once you’ve done that, the trimming menu will open up, and it should look like this:
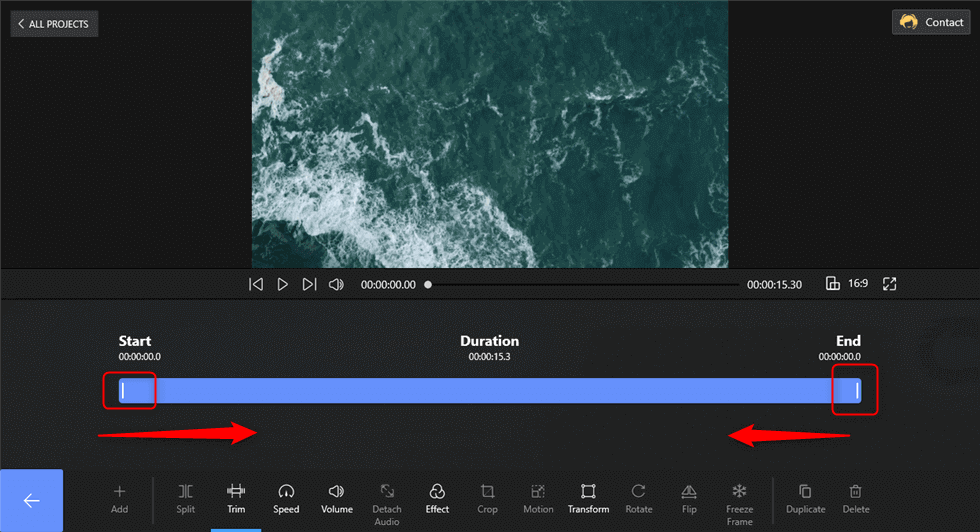
Trim the Video
As you can see, this menu can help you trim unnecessary footage from the start and end of the video by dragging. When you drag the Start to the End, the video above will follow the dragging and show you where you are now.
Extra tip: How to Cut Video from Middle
If you want to trim some footage in the middle of the video, you can split the video. To use the split tool, you should locate the red marker on the part of the video where you want to make the split and then click on the Split to separate the video into two parts.
Tap the fragment you split and hit the delete button to delete it. Now you just trimmed the video and deleted the middle fragment.
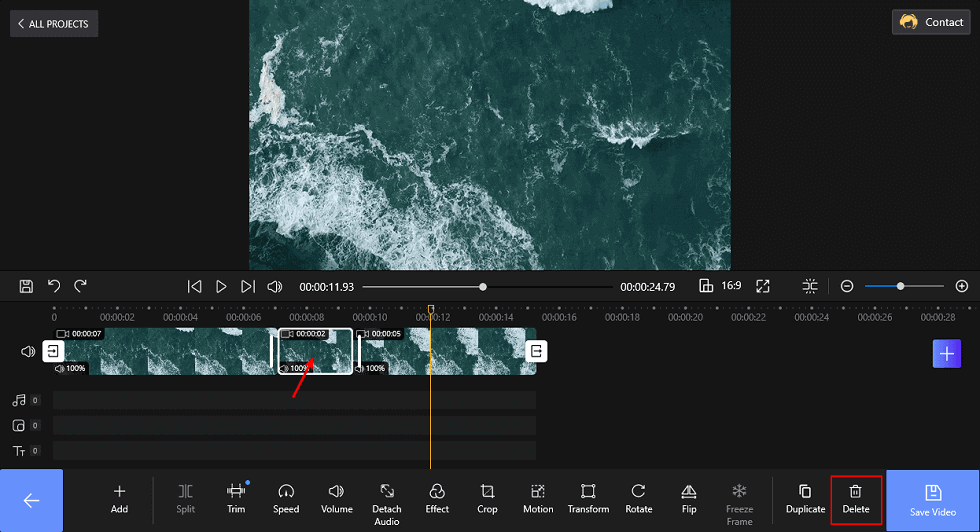
Trim the Video in the Middle
Step 4. Save the Trimmed Video
Simply click on the red “Save Video” button that’s located at the bottom right of the editor.
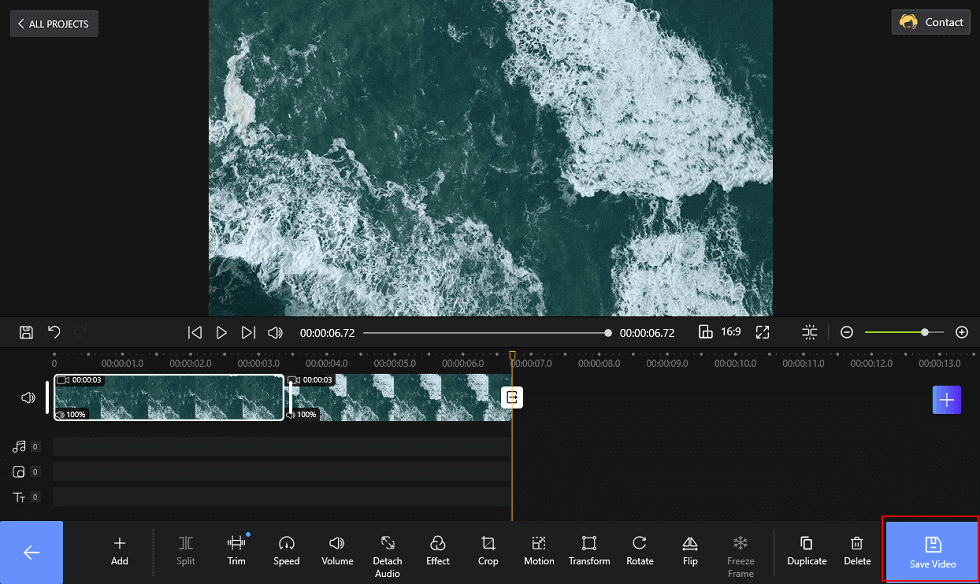
Export the Video
There will pop up a window that you can choose the Video Resolution, Video Quality, Frame Rate, and watermark or not. Tap the Save button to get it saved.

Save the Video
Depending on the duration of your video, it might take a few minutes to properly export and save your trimmed video. And that’s it! Now you’ll be able to share and upload your video. Really easy, wasn’t it?
How to Trim Videos using Windows Media Player
While Windows Media Player isn’t a dedicated video editor, it can still be utilized to trim videos with the assistance of specific plug-ins. Therefore, in this post, we’re introducing a third method to trim your videos using Windows Media Player and a plug-in called SolveigMM WMP Trimmer. This is a fast and straightforward way for Windows users. (Compatible with Windows 7, 8, 10, and 11 computers)
Just follow these step-by-step instructions to install and use the SolveigMM WMP Trimmer with your Windows Media Player.
Step 1. Download the SolveigMM WMP Trimmer Plug-In
You need to start by downloading the SolveigMM WMP Trimmer plug-in.
Download SolveigMM WMP Trimmer Plug-In
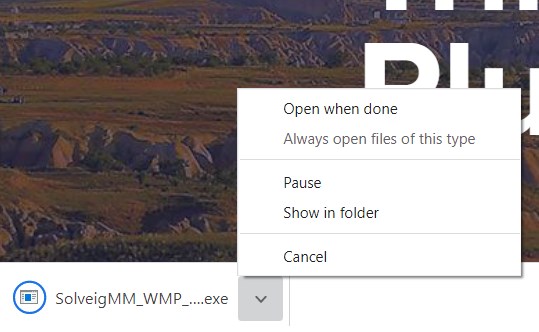
Step 2. Install the Plug-In on Your Device
Once downloaded, proceed to install the plug-in on your device. This is usually as simple as following the instructions provided by the installer.
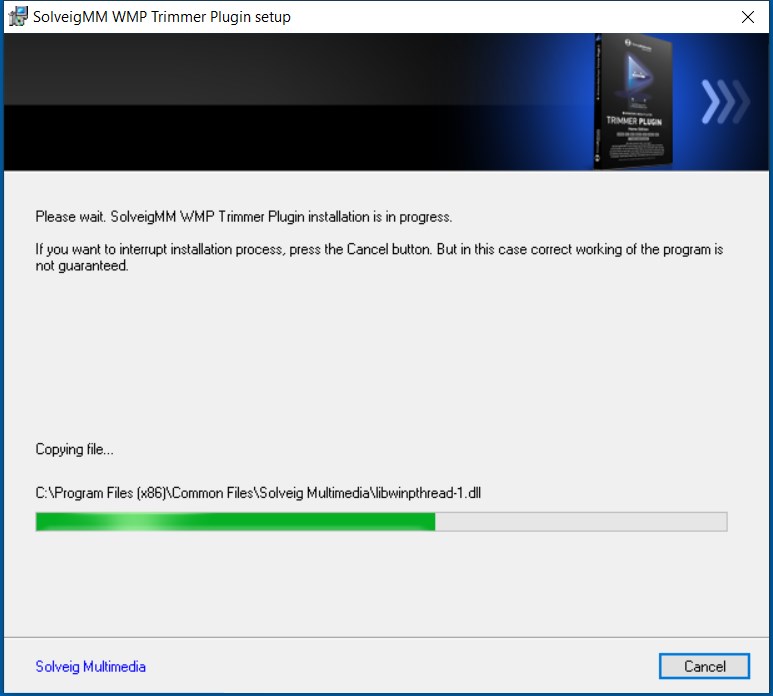
Install SloveigMM
Step 3. Activate the Plug-In on Windows Media Player
Next, open your Windows Media Player. Navigate to the main menu, and proceed to Tools > Plug-ins > SolveigMM WMP Trimmer Plugin. Once you have selected it, the plug-in will be enabled.
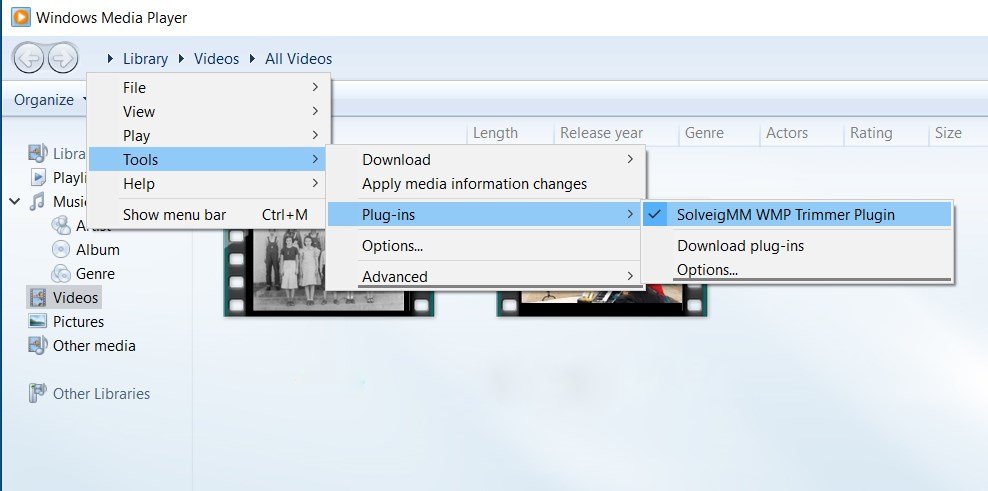
Active Video Trimmer Plugin
Step 4. Sign up for an account
To use the plugin, you will need to sign up for an account.
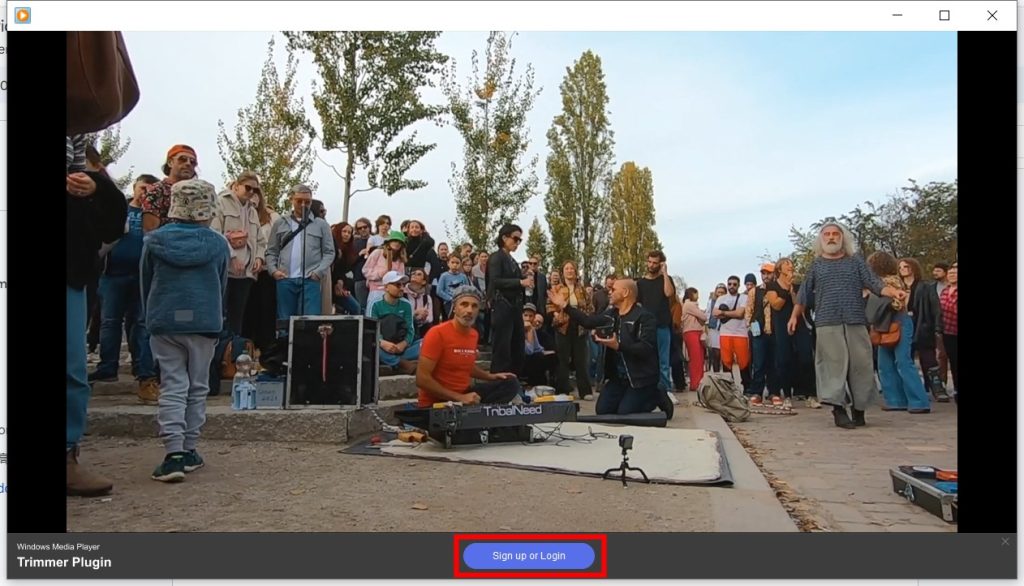
Sign up SolveigMM
Step 6. Trim Video and Click to Save Your Video
Mark and Trim Your Video. Finally, rename your trimmed video and save it to your preferred directory.
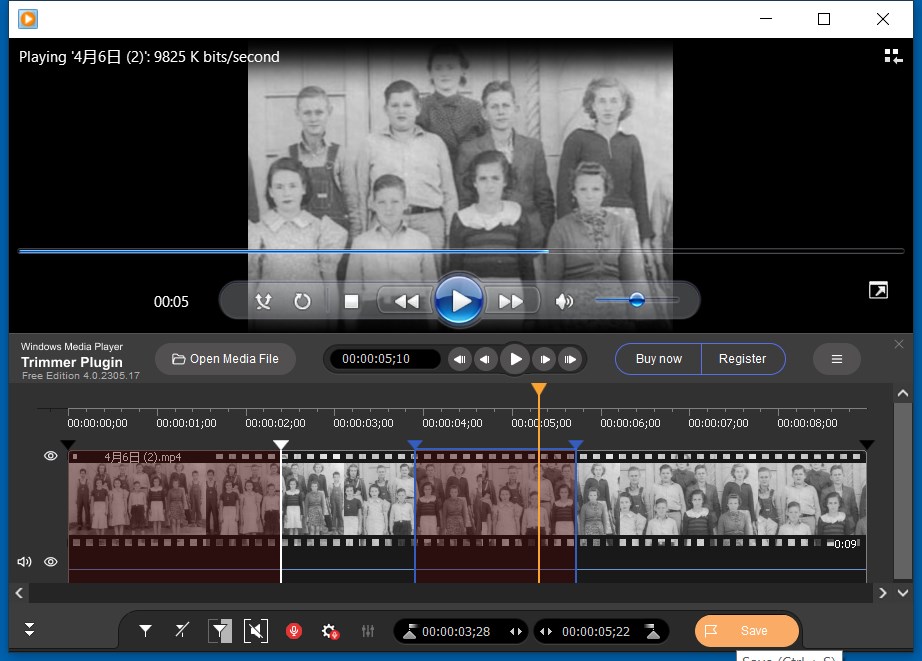
Trim Video and Save Video on Windows PC
Conclusion
We trust that this guide has empowered you with the knowledge and techniques to trim videos effectively on Windows 10 and Windows 11. This straightforward, user-friendly process demands no previous video editing experience, making it accessible to all.
Beyond trimming, the realm of video editing is filled with boundless potential to further refine your video content. To delve deeper into this world, we invite you to explore our additional guides. From leveraging advanced features of FilmForth, such as applying captivating video effects and seamless transitions, to more nuanced editing skills, there’s much to learn and apply. Continue your journey towards becoming a skilled video editor, and take your content to new heights of excellence. Happy editing!

Karen is a professional writer with a background in column writing who enjoys resolving complex topics and explaining them in interesting ways.
Related Articles
FilmForth - Free Video Editor
- Easy to use and no skill required at all.
- Export video to MP3 with one click.
- Add transitions, effects, filter, text to the video as you want.
- Remove, replace, record and edit the background audio easily.
- Change the speed, volume, and subtitle on video with ease.
- Stabilize, trim, rotate, and convert video in seconds.