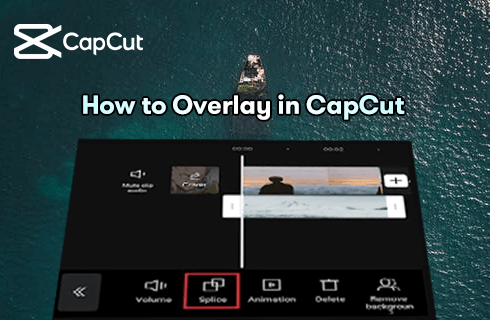
How to Do Overlay in CapCut: Add Text, Picture, Video Overlays with Adjustable Opacity

Summary :
Learn from the step-by-step guide on how to do overlay in the popular video editing app CapCut. Add text, picture, or video overlays to videos with ease.
How to Do Overlay in CapCut
-
The Difference Between Video Overlaying and Green Screen in CapCut
-
Step-by-step Guide on How to Overlay Video in CapCut
-
Best Overlay Video Editor for Windows You Should Try
-
How to Do CapCut Overlay: FAQs
-
In Conclusion
If you are running a most followed TikTok account or planning on building one, then CapCut is the video editing tool you shouldn’t miss out on.
CapCut is an all-in-one video editing app that works on both Android and iOS, it’s used as the default video editing app for the popular video-sharing app TikTok, the feature-rich CapCut app has enabled tons of amazing video effects, many of which originated from the latest TikTok trends, such as making video velocity edit and doing photo 3D zoom.
and in this post, you’ll learn from the detailed guide on how to do overlay in CapCut to add text, picture, or video overlays, while the opacity of which is adjustable.
Do Not Miss: 16 Best Intro Maker Apps, 22 Online Video Editors, 16 Best Video Editing Software for Mac
The Difference Between Video Overlaying and Green Screen in CapCut
Adding overlays to videos is different from the CapCut green screen feature. Overlaying is a well-used video editing skill in streaming and content creation fields (Making a Pic-in-pic video is a common example), which put a layer of visual text, pictures, stickers, or videos, on top of a background video.
On the other hand, the CapCut green screen feature can be used to change the background of a video, while retaining a moving object within.
Please note that this tutorial focuses on adding and adjusting overlay for video, if you’re looking for solutions to adding or changing video background, doing a green screen, or overlay video in CapCut green/black screen, turn to our guide on:
- How to add background on CapCut, and you’ll learn the methods to use CapCut to add background to different videos with/without the green screen.
- How to do a green screen on CapCut, which helps overlay moving objects in video or change the video background.
How to Overlay in CapCut
Step-by-step Guide on How to Overlay Video in CapCut
Below is the illustrated guide on how to do text/stickers/image/video overlay in the CapCut app.
- If you don’t have CapCut installed on your mobile phone yet, search, download and install it from App Store or Google Play.
- This tutorial is based on CapCut on PC, the method also works for mobile phones. Learn more about how to use CapCut on a PC.
Step 1. Launch CapCut App
To add video overlay in CapCut, launch the CapCut app on your mobile phone, then create a new project and import the media you intend to use as the background video.
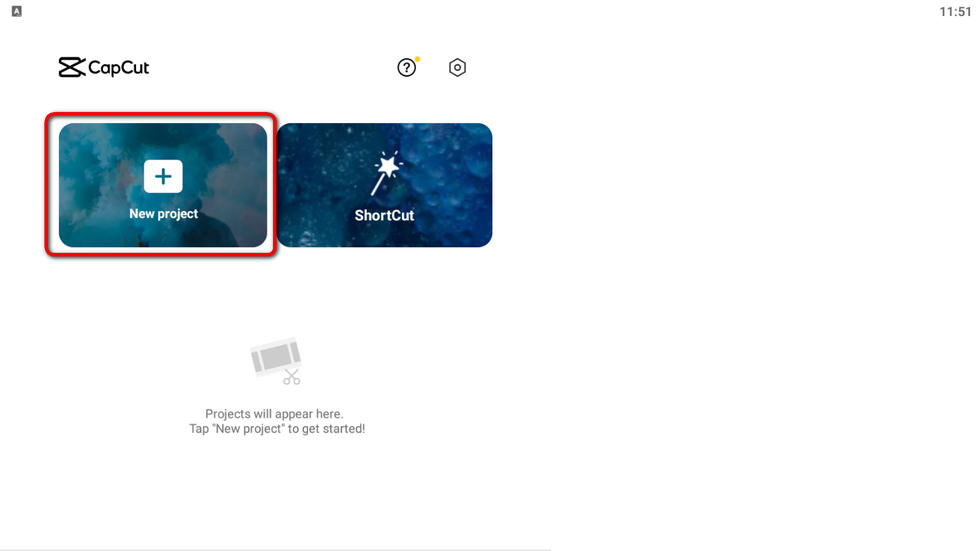
Import Video Background
Step 2. Add Different Overlays
From the lower menubar in CapCut Workplace, there are three options for us to add different types of overlays.
- Hit the Overlay button to add video and photo overlays to the video
- Hit the Text button to add a customizable text overlay to the video
- Hit the Stickers button CapCut inbuilt stickers to the video
To demonstrate, let’s say we’re to add text overlay to make a social media logo, thus hit the Text button.
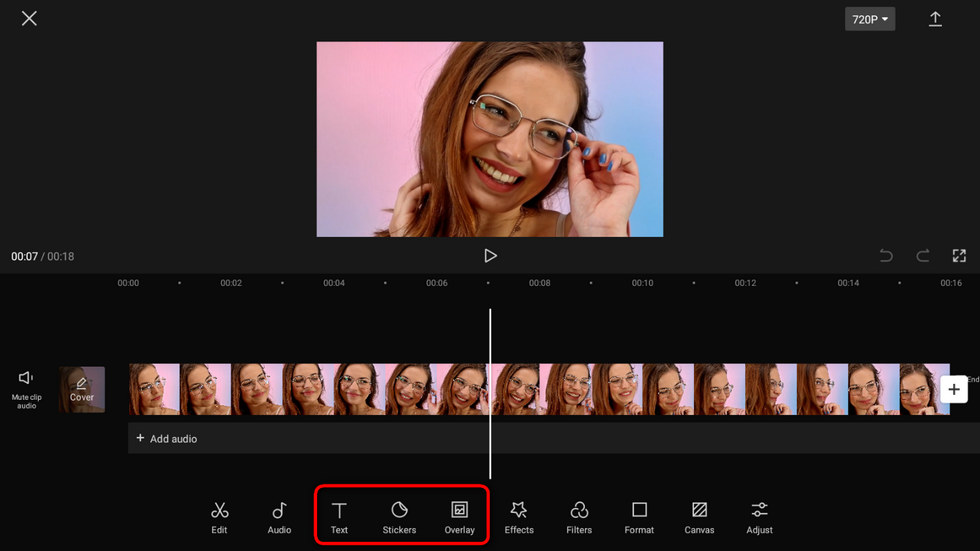
Add Different Overlays in CapCut
Step 3. Select Text Type
CapCut offers four text options for you to choose from: Add text, Text template, Audio captions, and Stickers, which serve respectively for different purposes. Here we select the Text template.
When the overlay is added to the timeline, drag the handlebar of the media to match the duration of the overlay with the video background.
Step 4. Add Text Template Overlay
As you can see, CapCut offers a good many trending text overlays for you to choose from, select the one you prefer.
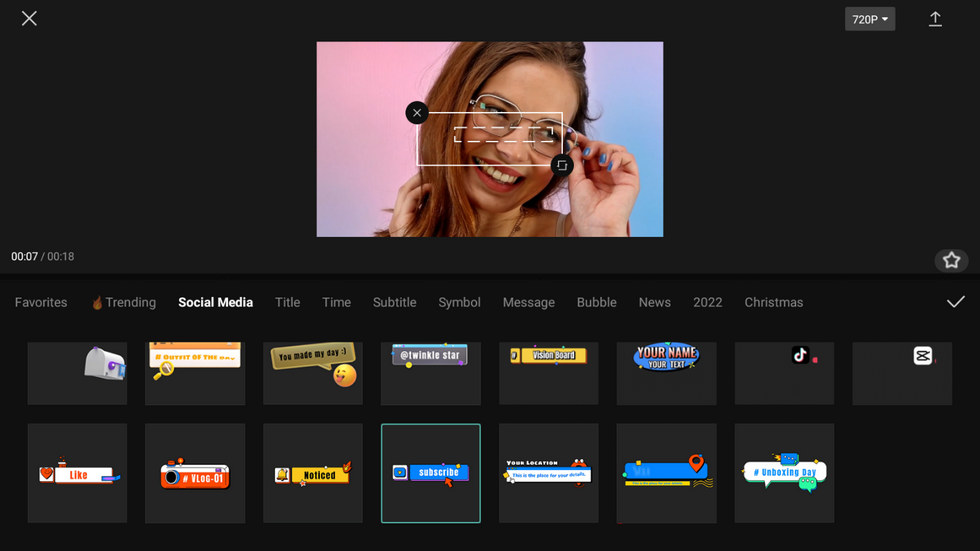
Select the Text Template
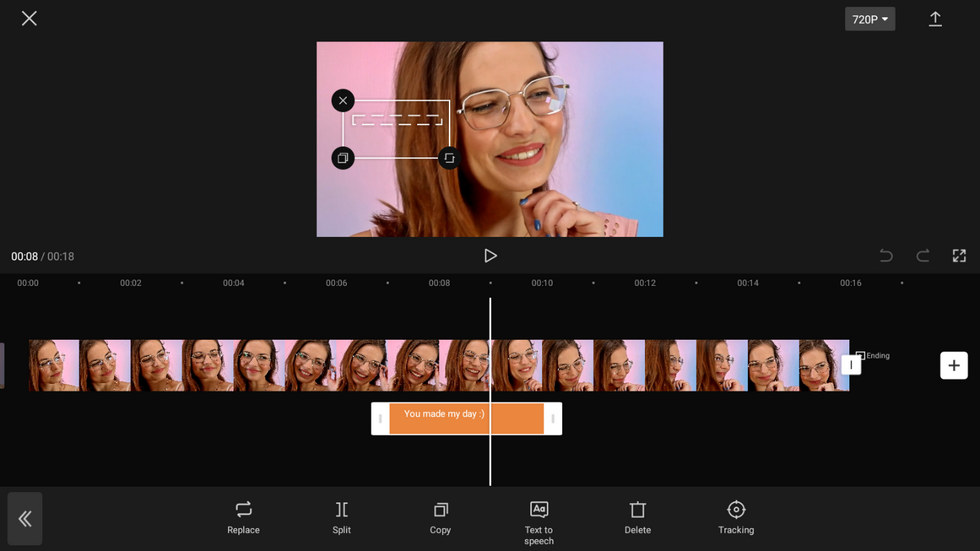
Step 5. Adjust Overlay Opacity and Placement
Hit on the added text overlay in the timeline, so you can adjust the opacity of which, making the overlay transparent or translucent. From the upper preview window, you can also adjust and relocate the text overlay.
When you’re ready, hit the export button from the upper-right side to save and export the overlay video.
Adjust Overlay and Export
Best Overlay Video Editor for Windows You Should Try
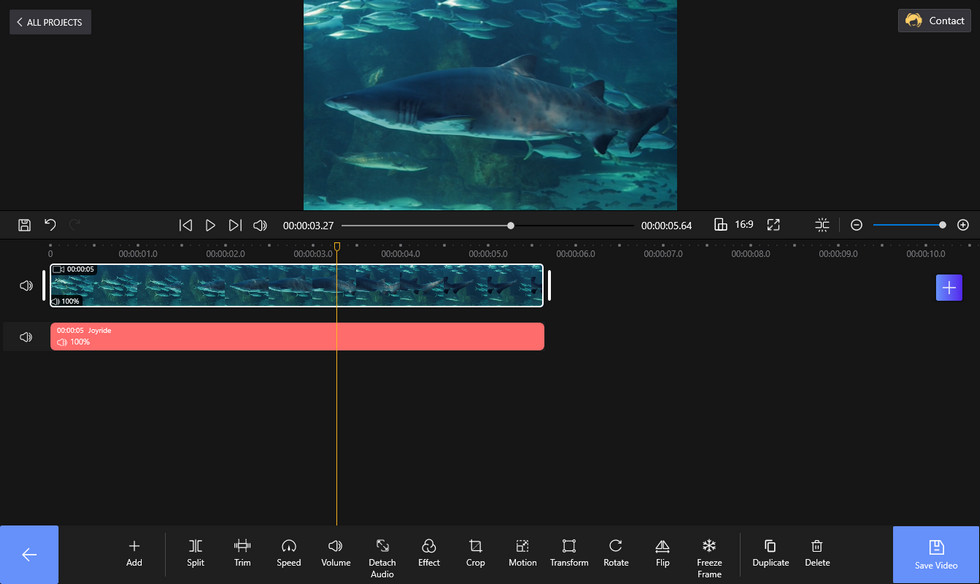
Do you also edit videos on your Windows PC? If so, then you should totally try the best free CapCut alternative: FilmForth video editor. FilmForth is the best free video editor for Windows 10 and Windows 11. It’s packed with a considerable amount video editing features including video trimming, cropping, splitting, effects, transitions, green screen, etc.
From our guide on how to overlay videos and how to add animation overlays to video, you’ll learn how to use FilmForth to do these things, free and easily.
Edit Video with FilmForth no Watermarks
How to Do CapCut Overlay: FAQs
How To Overlay in CapCut Black Screen?
To overlay in CapCut black screen is just the same as overlaying in CapCut green screen, which requires the CapCut green screen feature or the CapCut automatical background changing feature.
How To Overlay Lyrics in CapCut?
To add overlay lyrics in CapCut, import your video into CapCut, and hit the Text button underneath, which is to add customizable text, such as lyric texts.
How To Make the Overlay Transparent in CapCut?
To make the overlay transparent in CapCut, after the overlay is added, hit it in the timeline and hit the opacity button, adjusting the opacity until the overlay is transparent. For more information, learn from our guide on transparent video overlay.
How To Overlay a Picture on a Video in CapCut?
To overlay a picture on video in CapCut, import your background video into CapCut, hit the lower Overlay button, and import the desired picture, then you can adjust the picture overlay or export the overlaid video.
How To Blur Overlay in CapCut?
To blur overlay in CapCut, when the overlay is added to the timeline, hit the Effects button and apply the blur effect from the Effects section.
How To Move Overlay in CapCut?
To make an overlay move in CapCut, you need the CapCut object tracking feature for overlays. Moreover, you can also use the green screen or automatic changing background feature, with these features, you get to change the background behind a moving object, which is moving overlay in CapCut.
How To Add Effects to Overlay in CapCut?
To add effects to overlay in CapCut, import the background video into CapCut > add the overlay > select the overlay > hit the Effect button > select the desired effect such as blurring the overlay.
In Conclusion
Adding overlays of all kinds is just one of the main features in CapCut, and there’re plenty more for you to find out. So if you haven’t tried CapCut yet, free download and install it from App Store or Google Play and give it a try!
And for those who have CapCut installed, I’m sure you’ve also learned about more CapCut exciting features, follow our tutorials so you’ll acquire the skill!
Meanwhile, content creators may also want to learn how to blur on CapCut. By blurring out a part of a video or the video background, an effect of emphasizing is achieved.
More Related Articles
- CapCut Review: Your Search for Video Editing App Ends Here [2023 Updated] >
- How to Use CapCut to Make and Edit Videos [The Ultimate Guide] >
- 12 CapCut Filters to Make Your Video Textured in 2023 >
- 12 Best CapCut Templates: Best Trending CapCut Templates in 2023 >
- 10 Best Capcut Alternatives for Windows, Mac, and Online in 2023 >